 I first posted about my love of snacking cake back when I made this Raspberry Lemon Poppy Seed Snacking Cake for the blog. Before we go into it, technically anything can really be a snacking cake or even a snacking cookie, but really, it should be something simple that can be cut into small pieces and you can snack on it all day long. Hence why I love it so much. This time around I made a Chocolate Hazelnut Snacking Cake. Aside from being super delicious and extremely addicting, the best part about it is that it’s completely versatile. You can make it so many different ways without ever getting bored. I go more into different combination later on in the post, but it’s a great snacking cake base which you can spruce up to your liking. Of course, you can make it as is and you’d love it just the same!
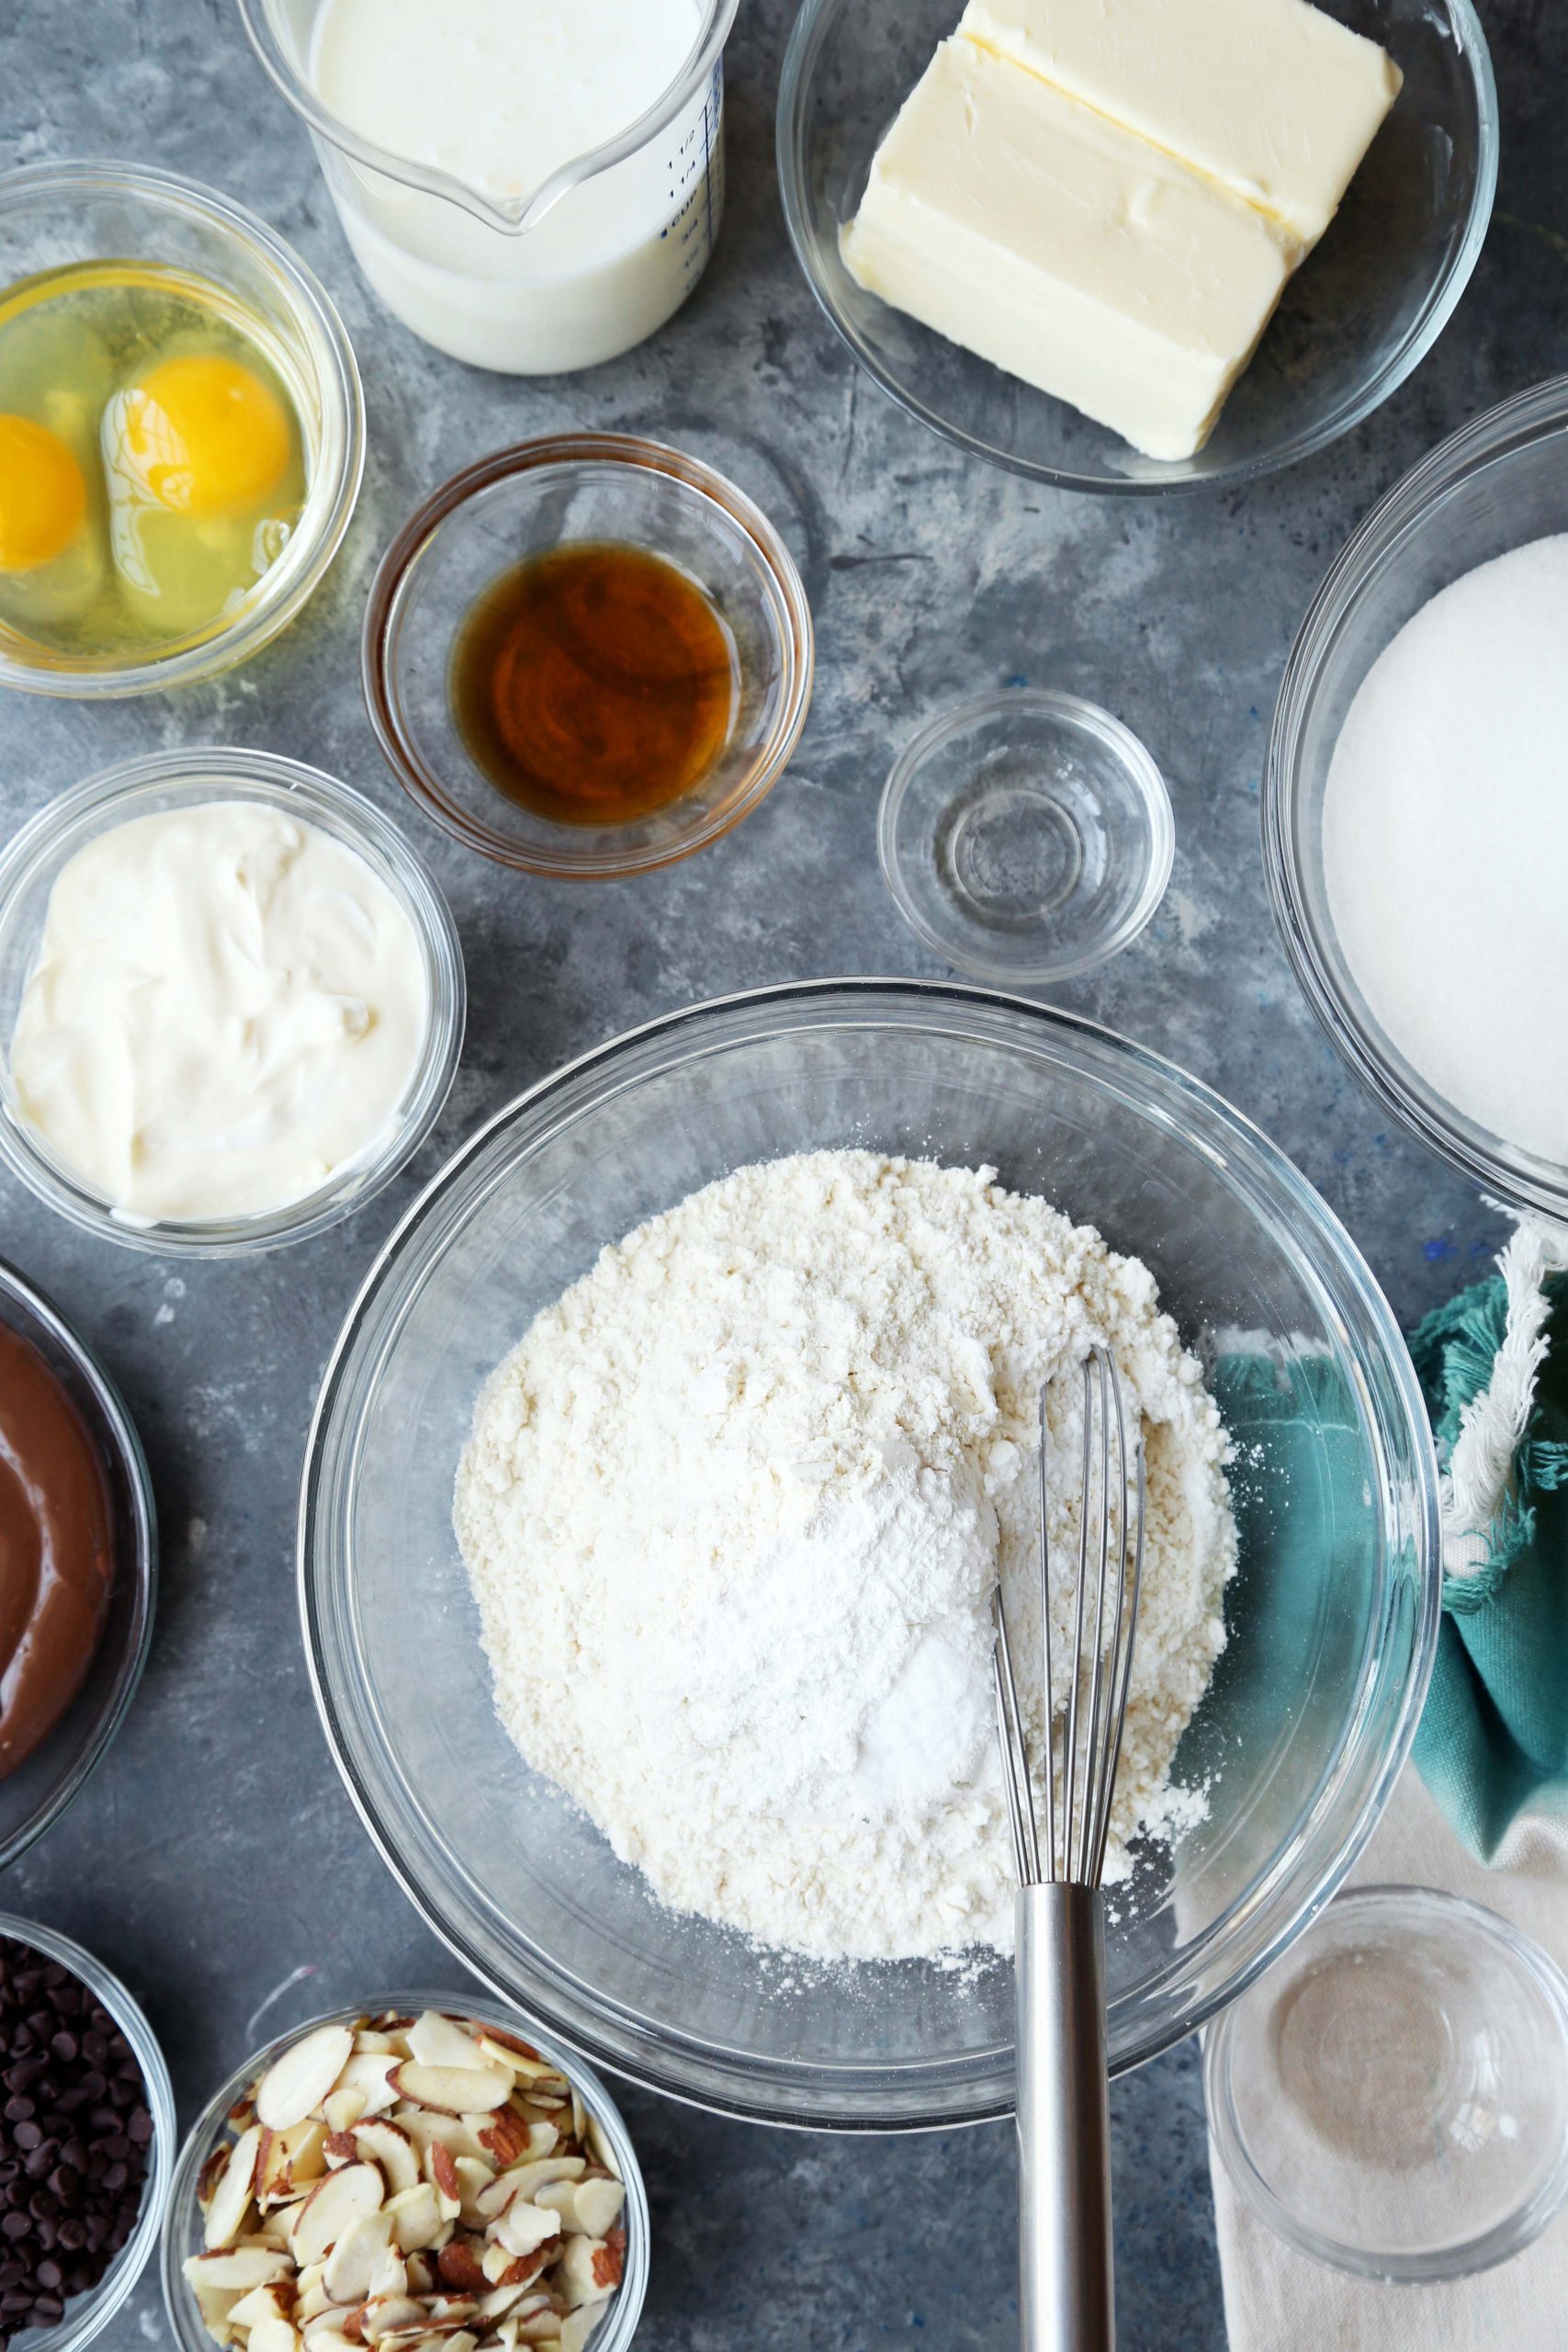
In a large bowl, whisk together the all-purpose flour, baking powder, baking soda and salt; set aside.
**Tip: If you happen to have cake flour on hand, use that instead of all-purpose flour! Your cake will have a lighter crumb, making for an even better cake. But if all you have is AP flour that’s fine too!**
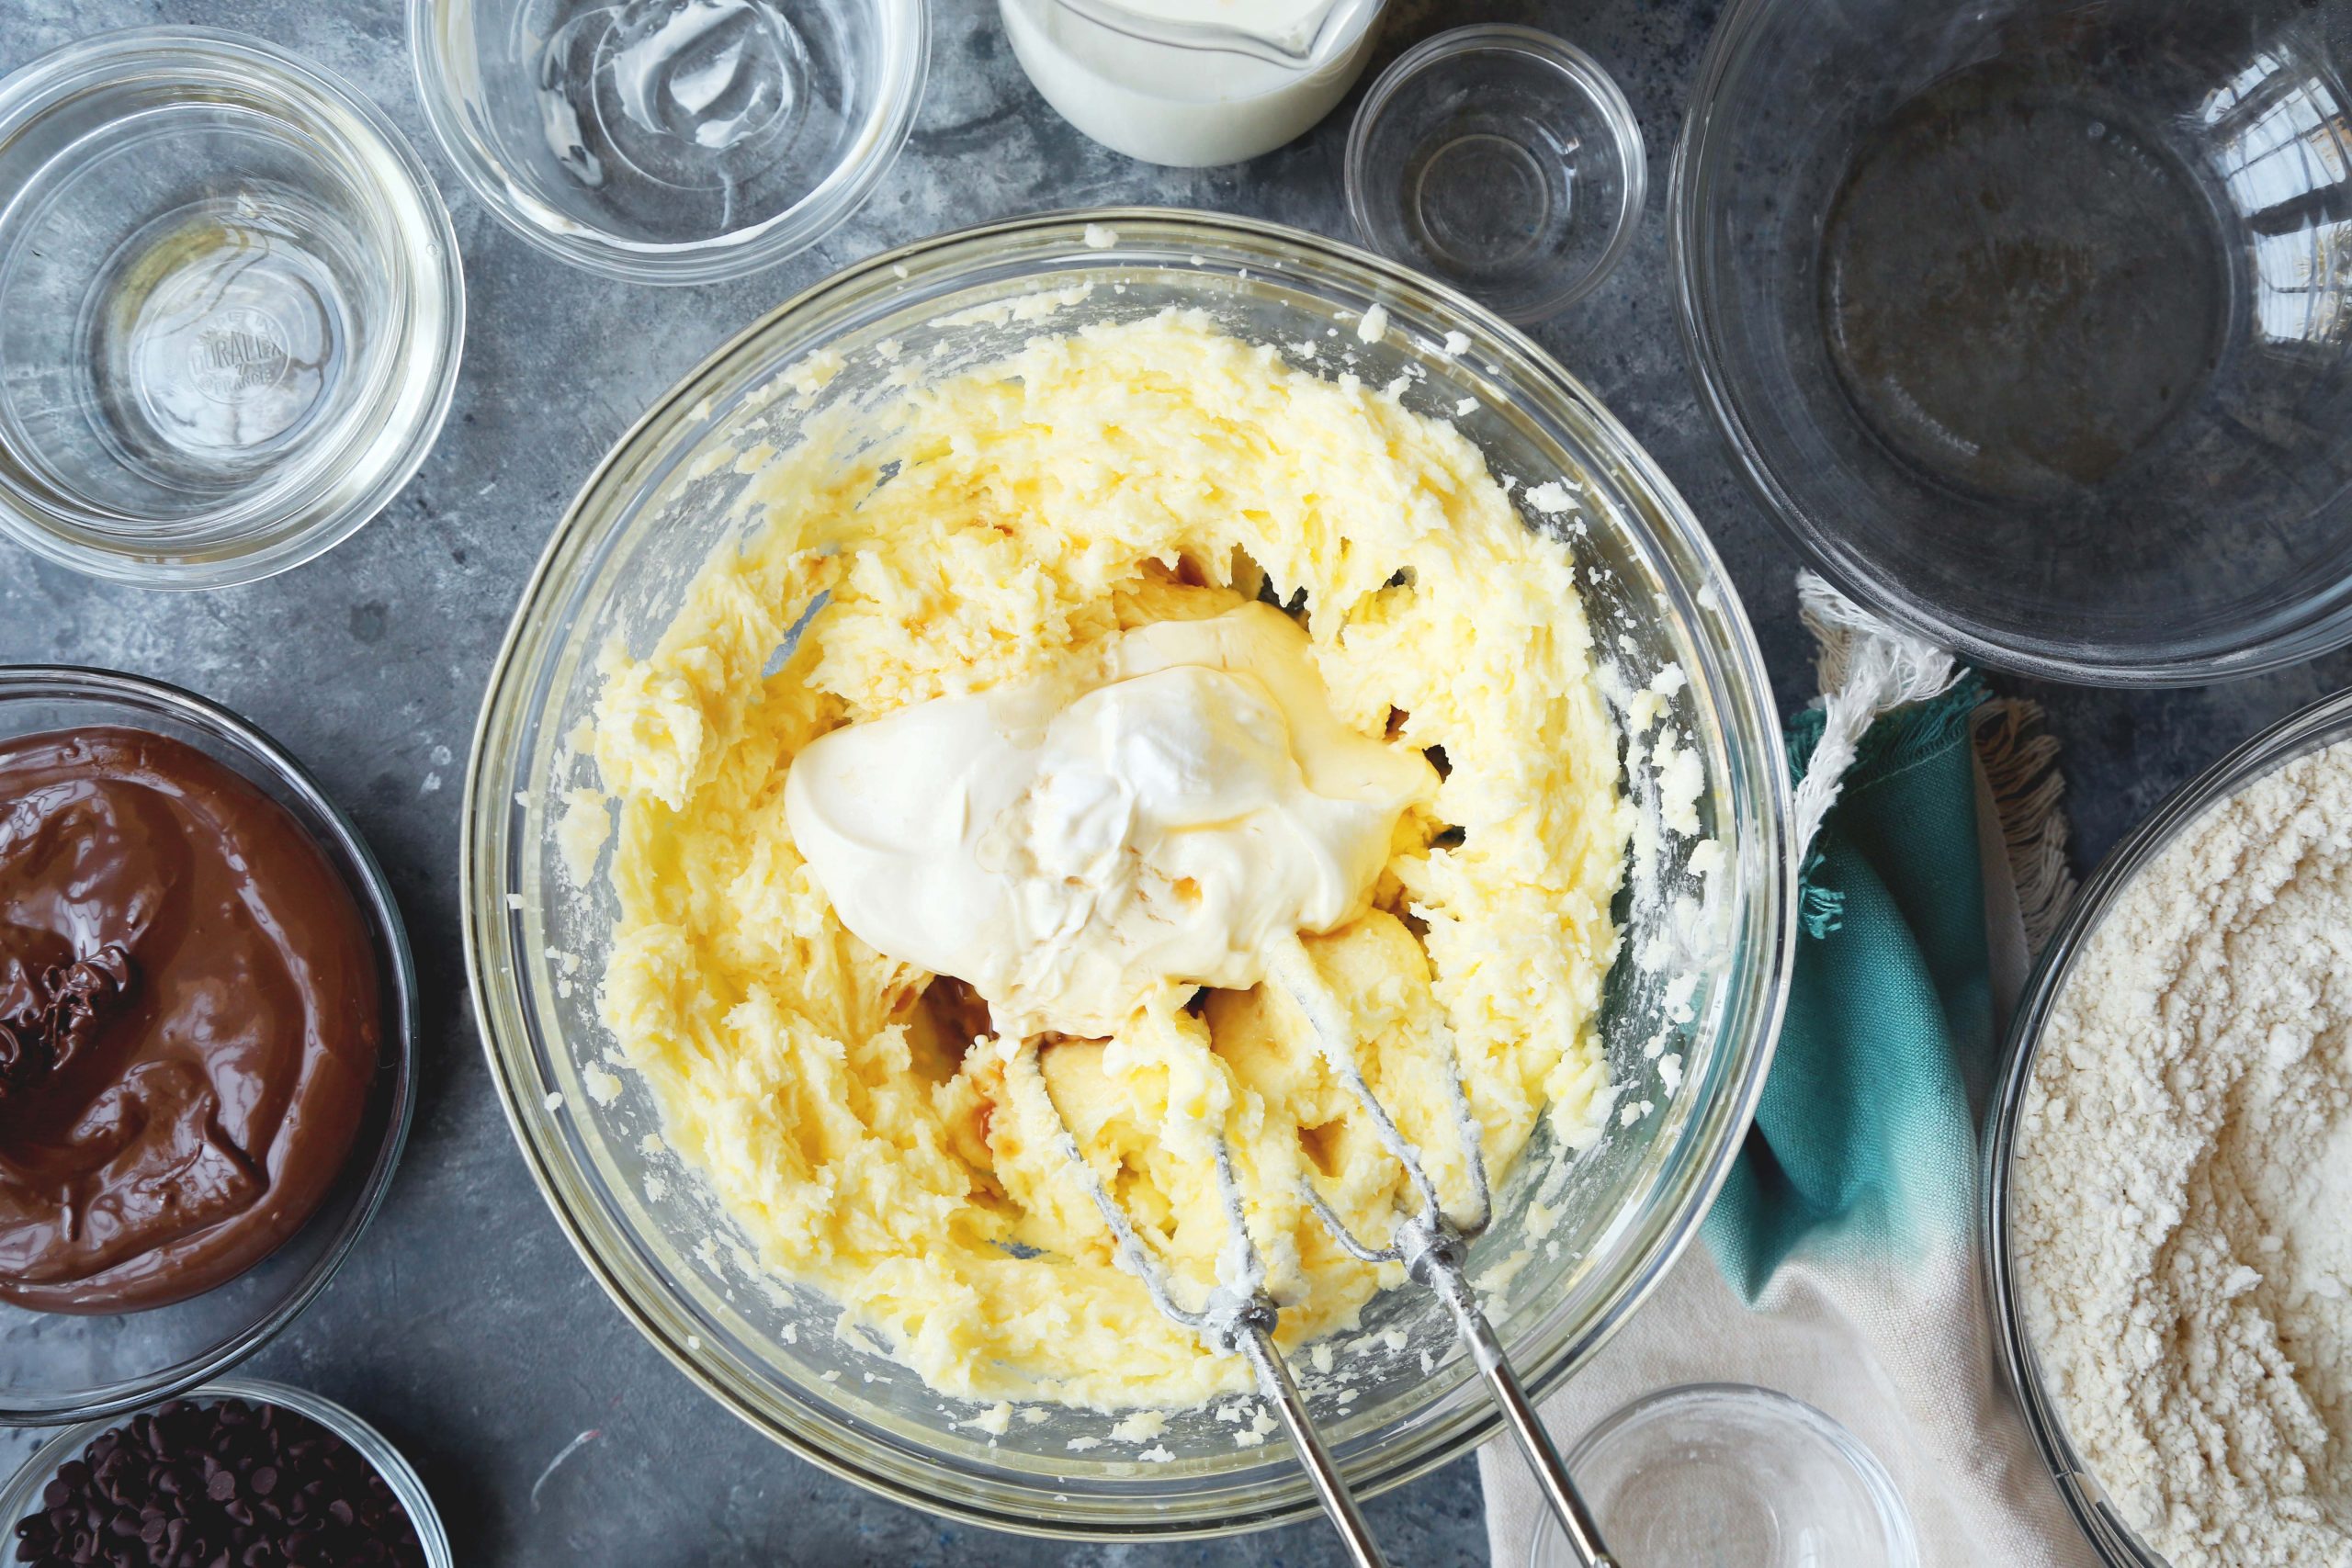
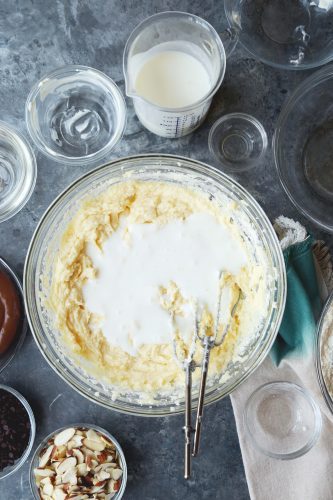
 In a separate bowl, cream together the butter and sugar until light and fluffy, about 3 minutes. Add in the eggs, one at a time, making sure to beat the mixture well after each addition.
**Tip: Using room temperature eggs (and milk etc.) will make it easier for you to cream the ingredients together and will actually make for a better cake overall.**
 Add in the vanilla extract and sour cream and stir until well-combined.
**Tip: The sour cream makes this cake super moist. The same can be achieved with yogurt as well. So if you have yogurt on hand instead, that will work great!**
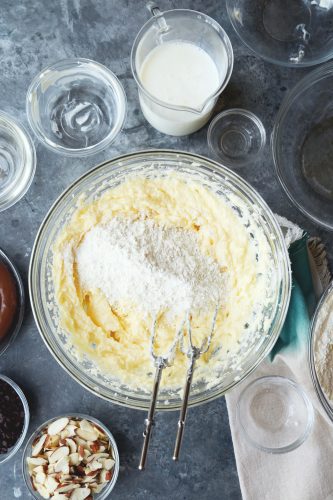
 Add the dry ingredients, alternating with the buttermilk, starting and ending with dry. Mix until just combined after each addition. Use a rubber spatula to scrape the sides and bottom of the bowl to ensure the batter is evenly combined.
**Note: You don’t want to over-mix the batter at this point or else you’ll end up with a dry tough cake.**
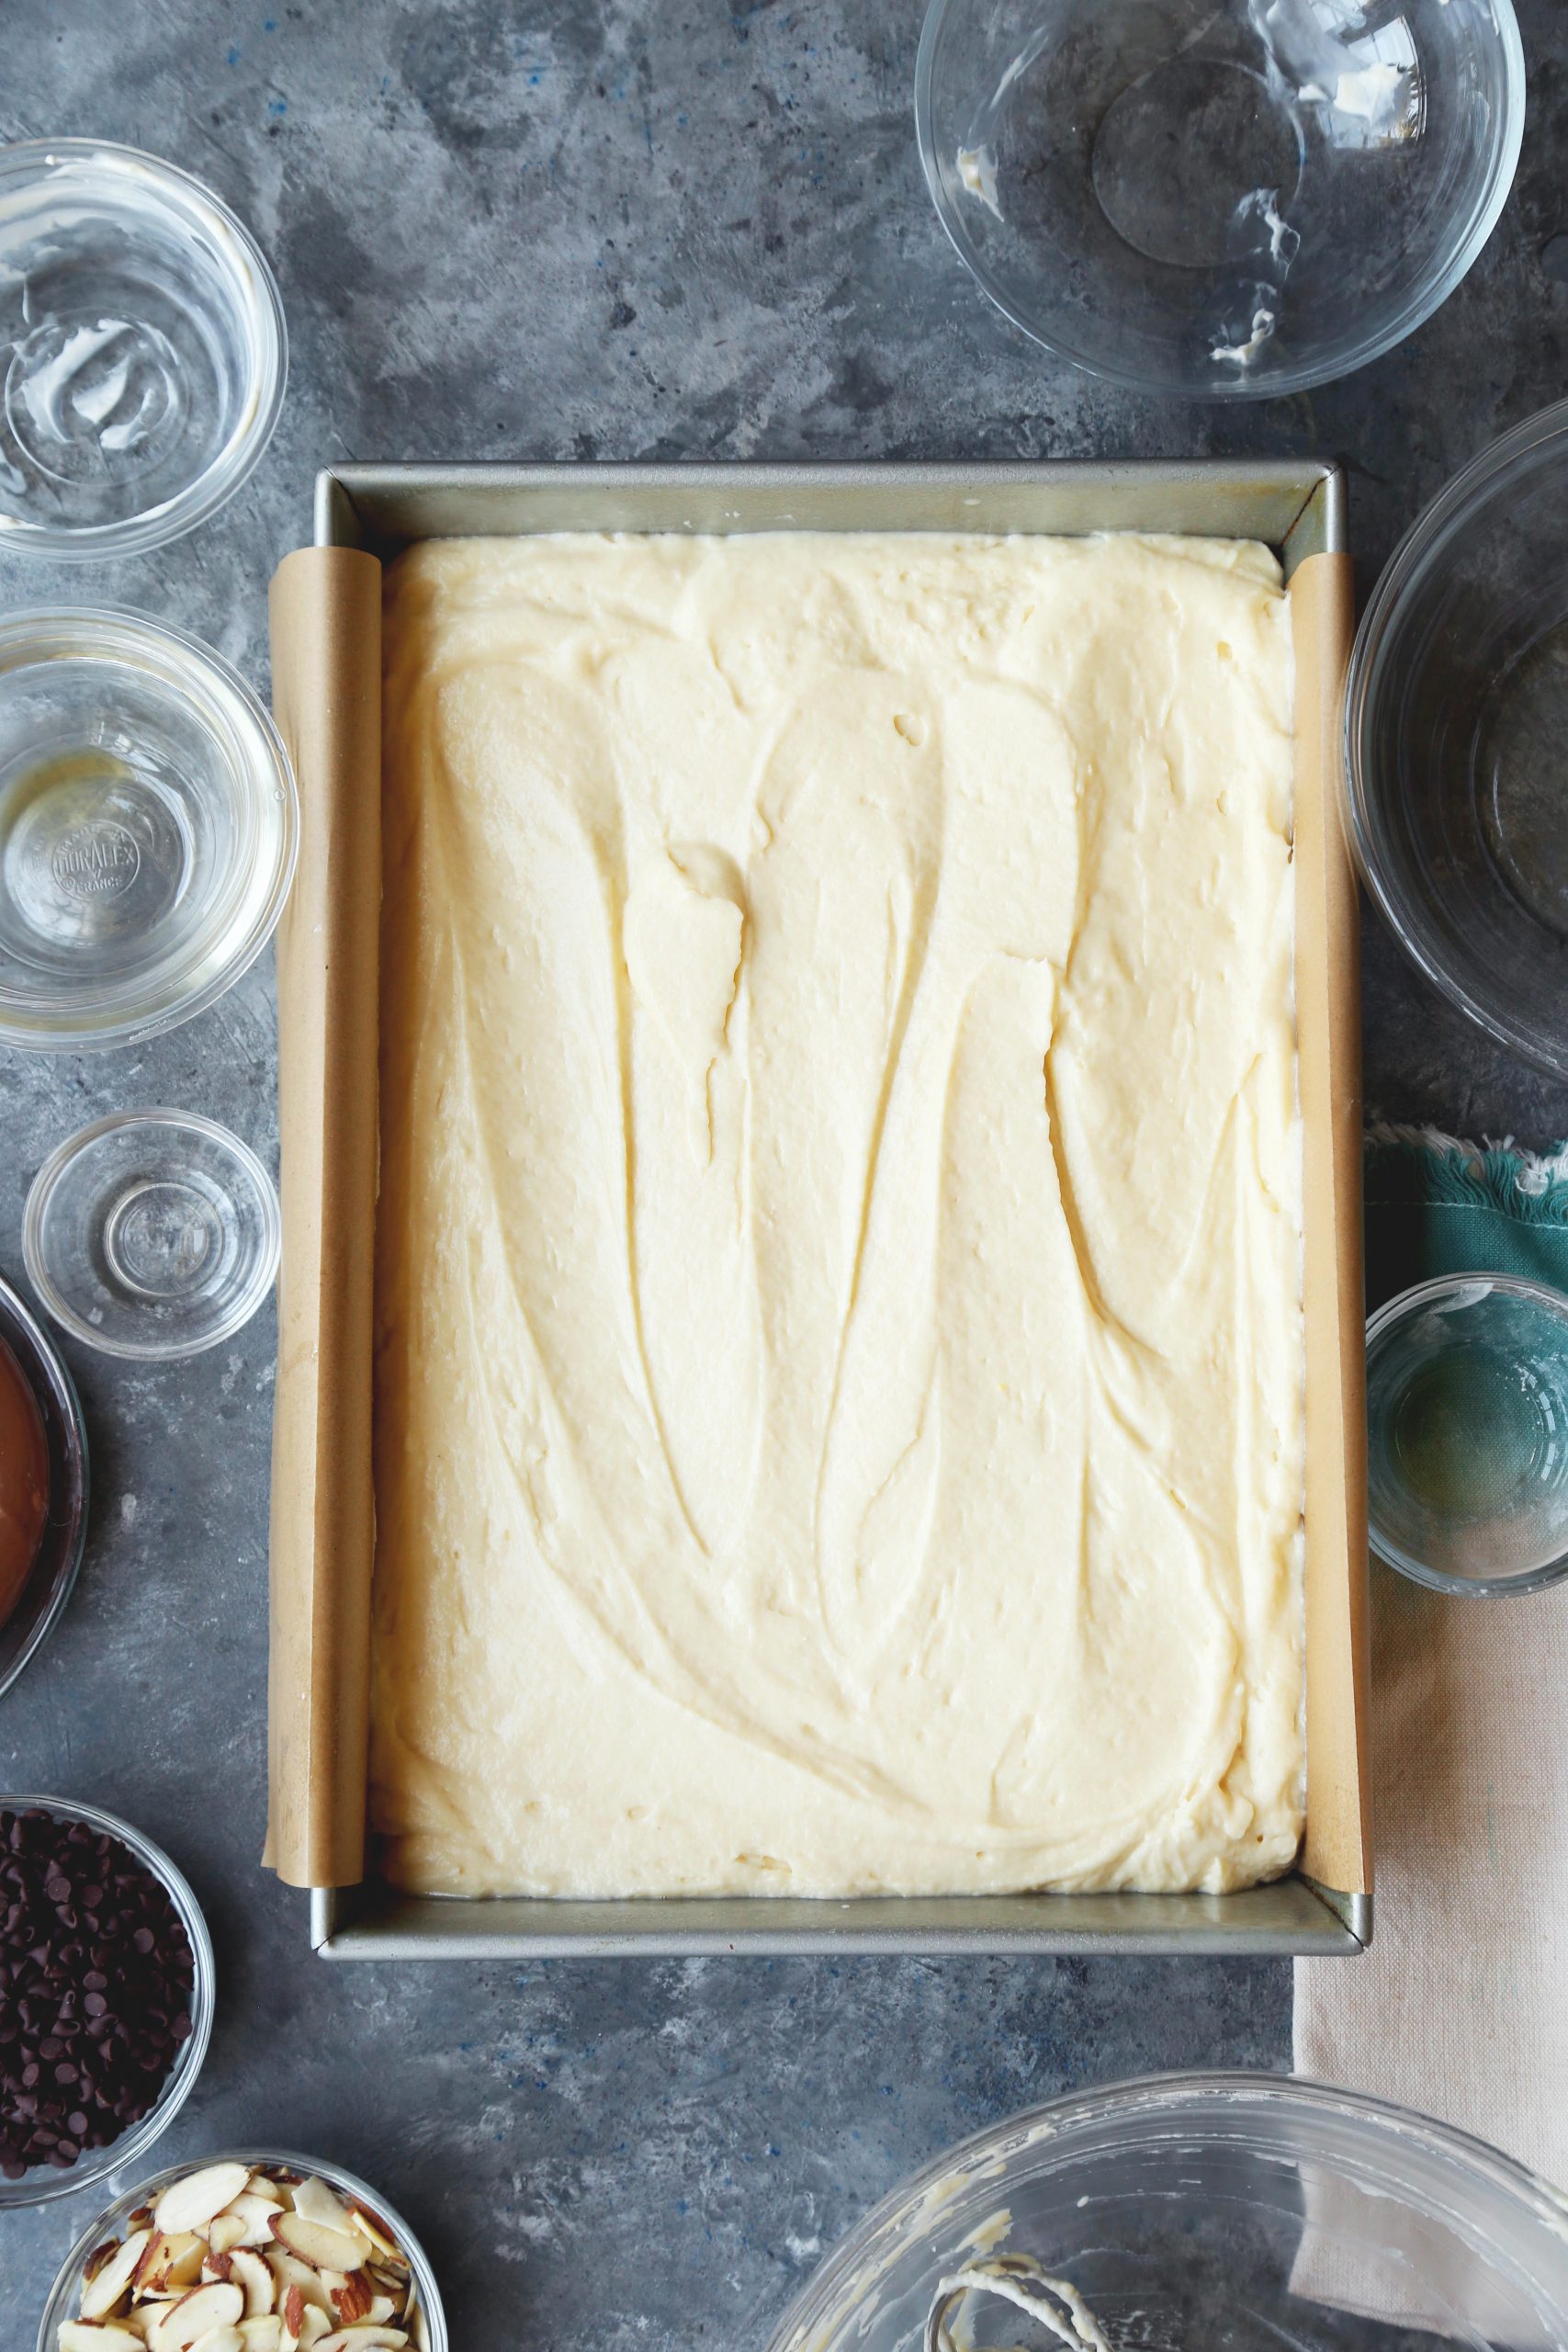
Line a 9×13-inch baking pan with parchment, so that the sides hang off (this will make it easier to pull the cake out later) and grease lightly with cooking spray. Pour the batter into the prepared baking pan and spread into an even layer.
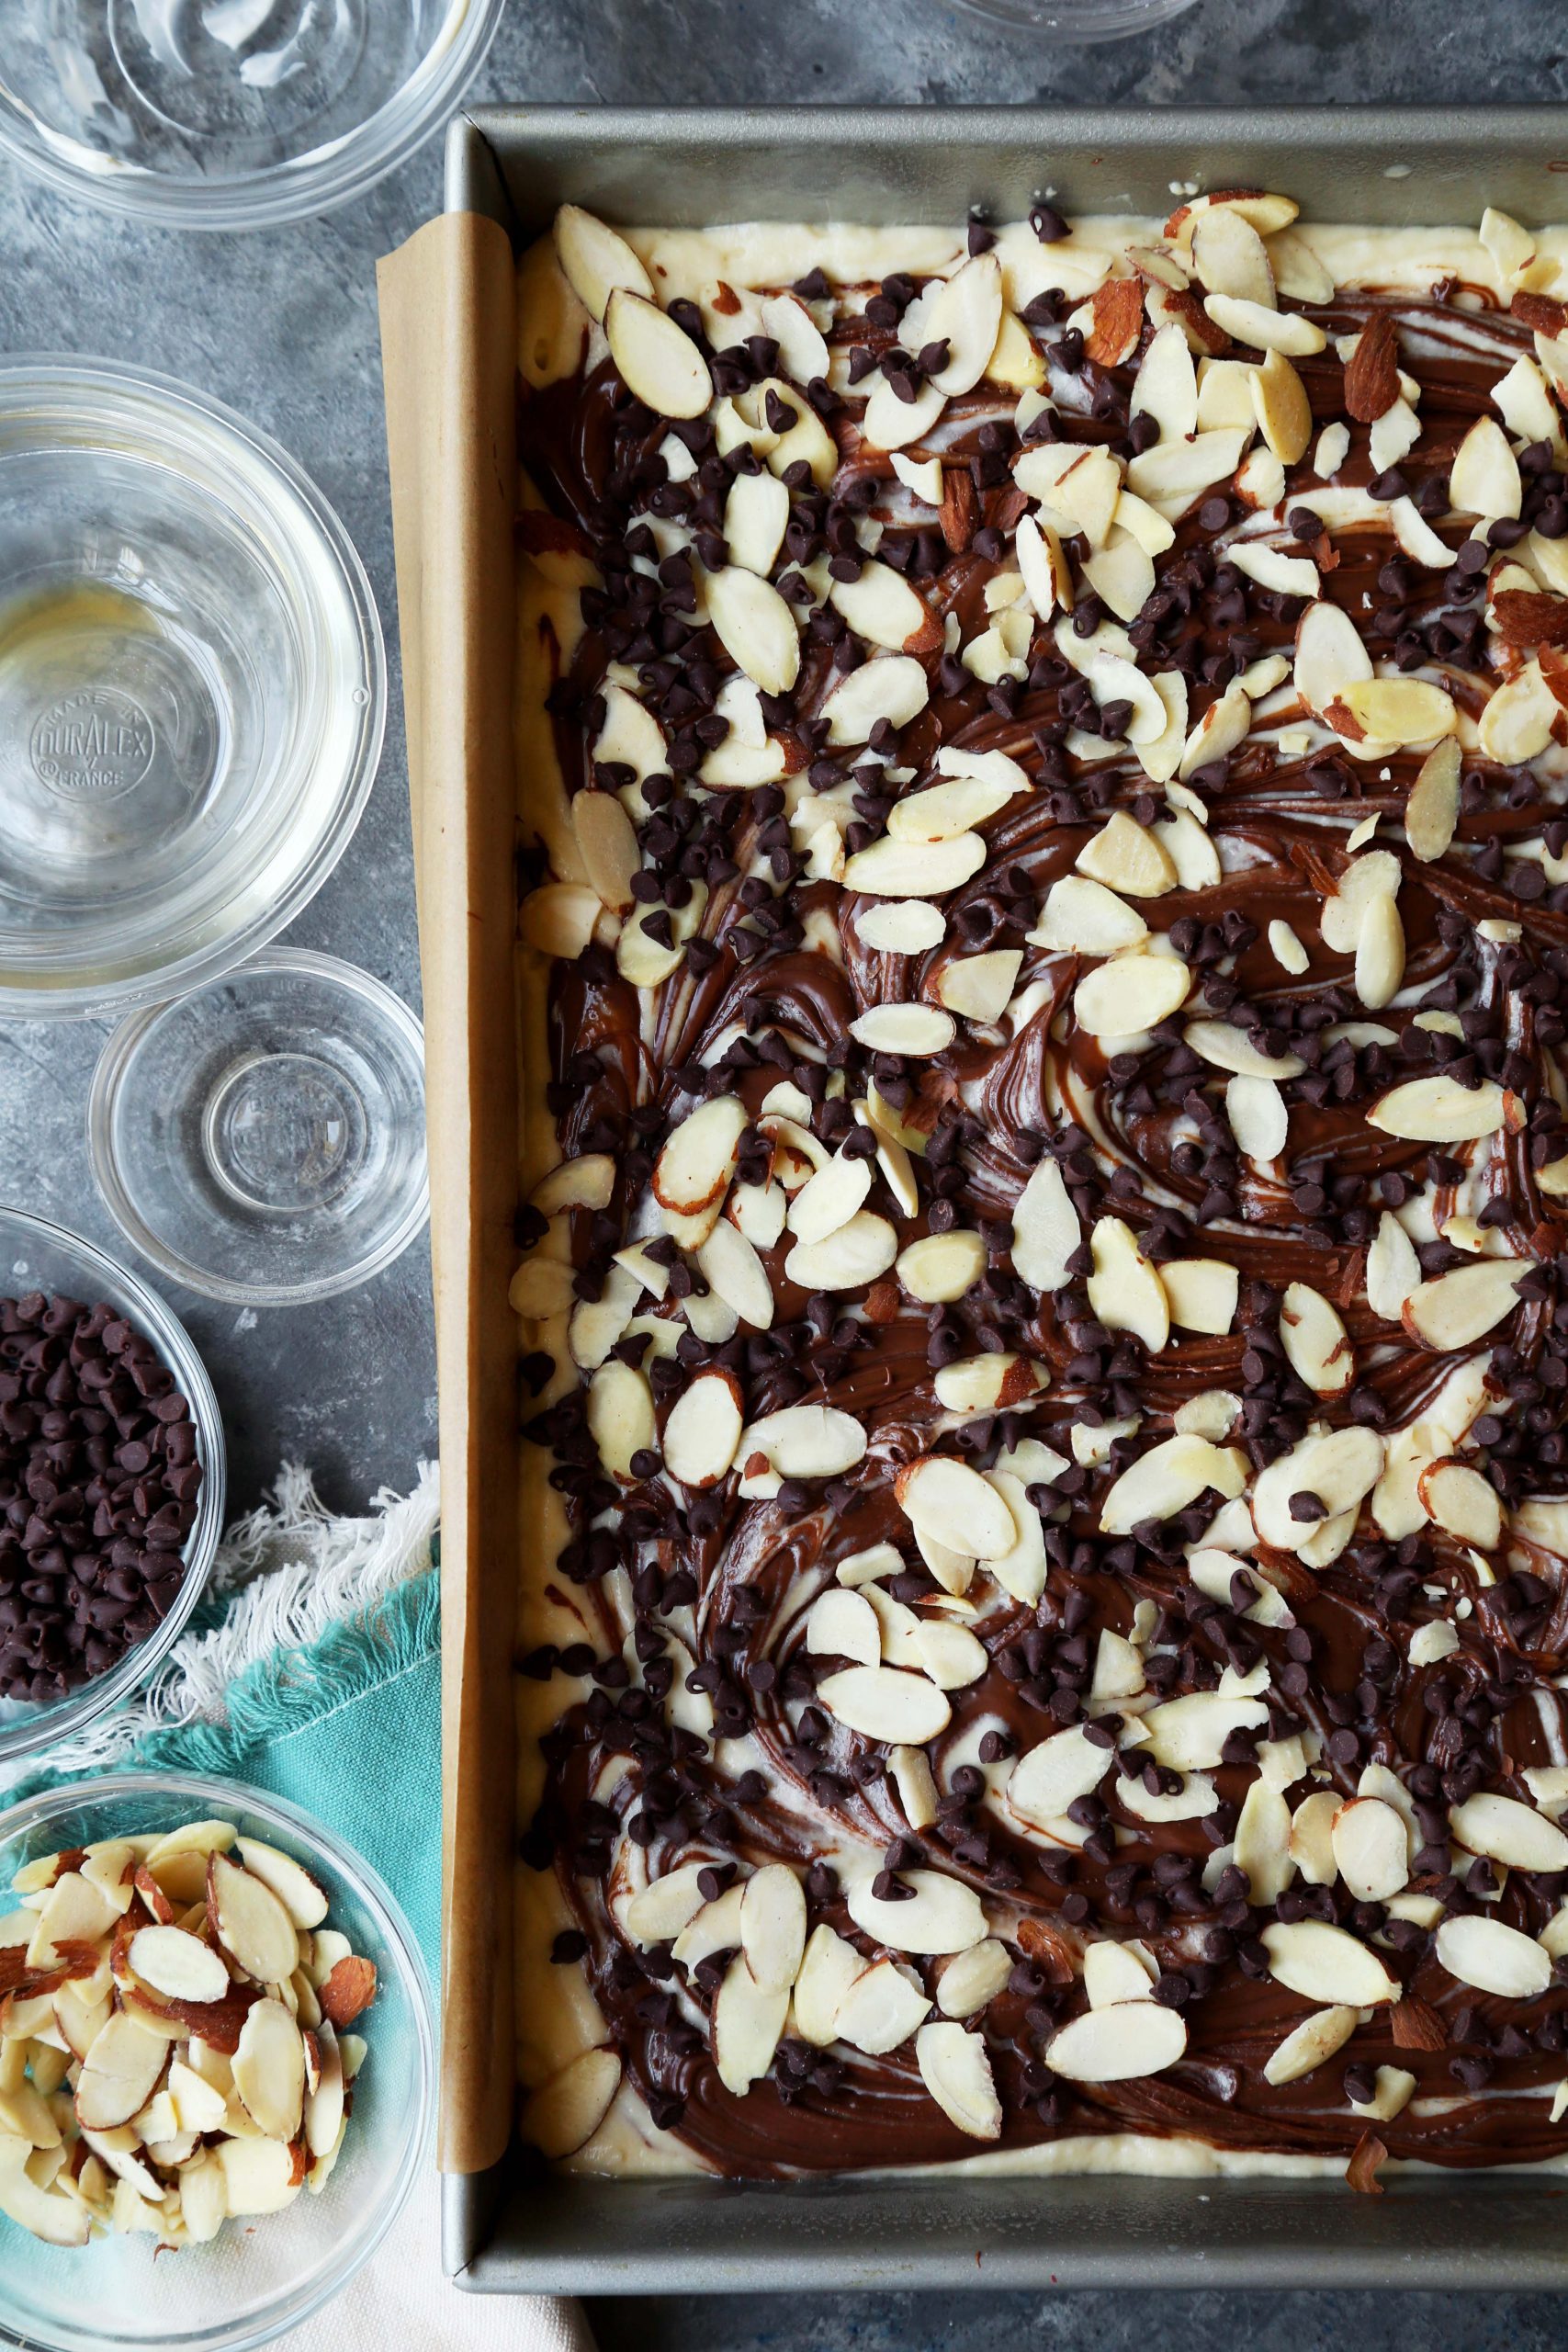
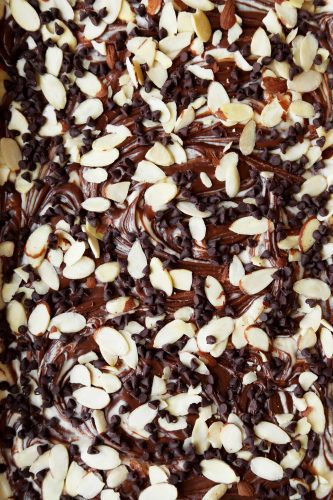
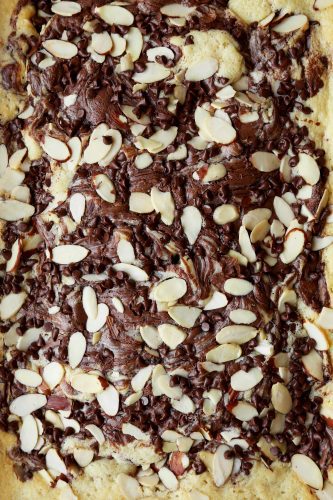
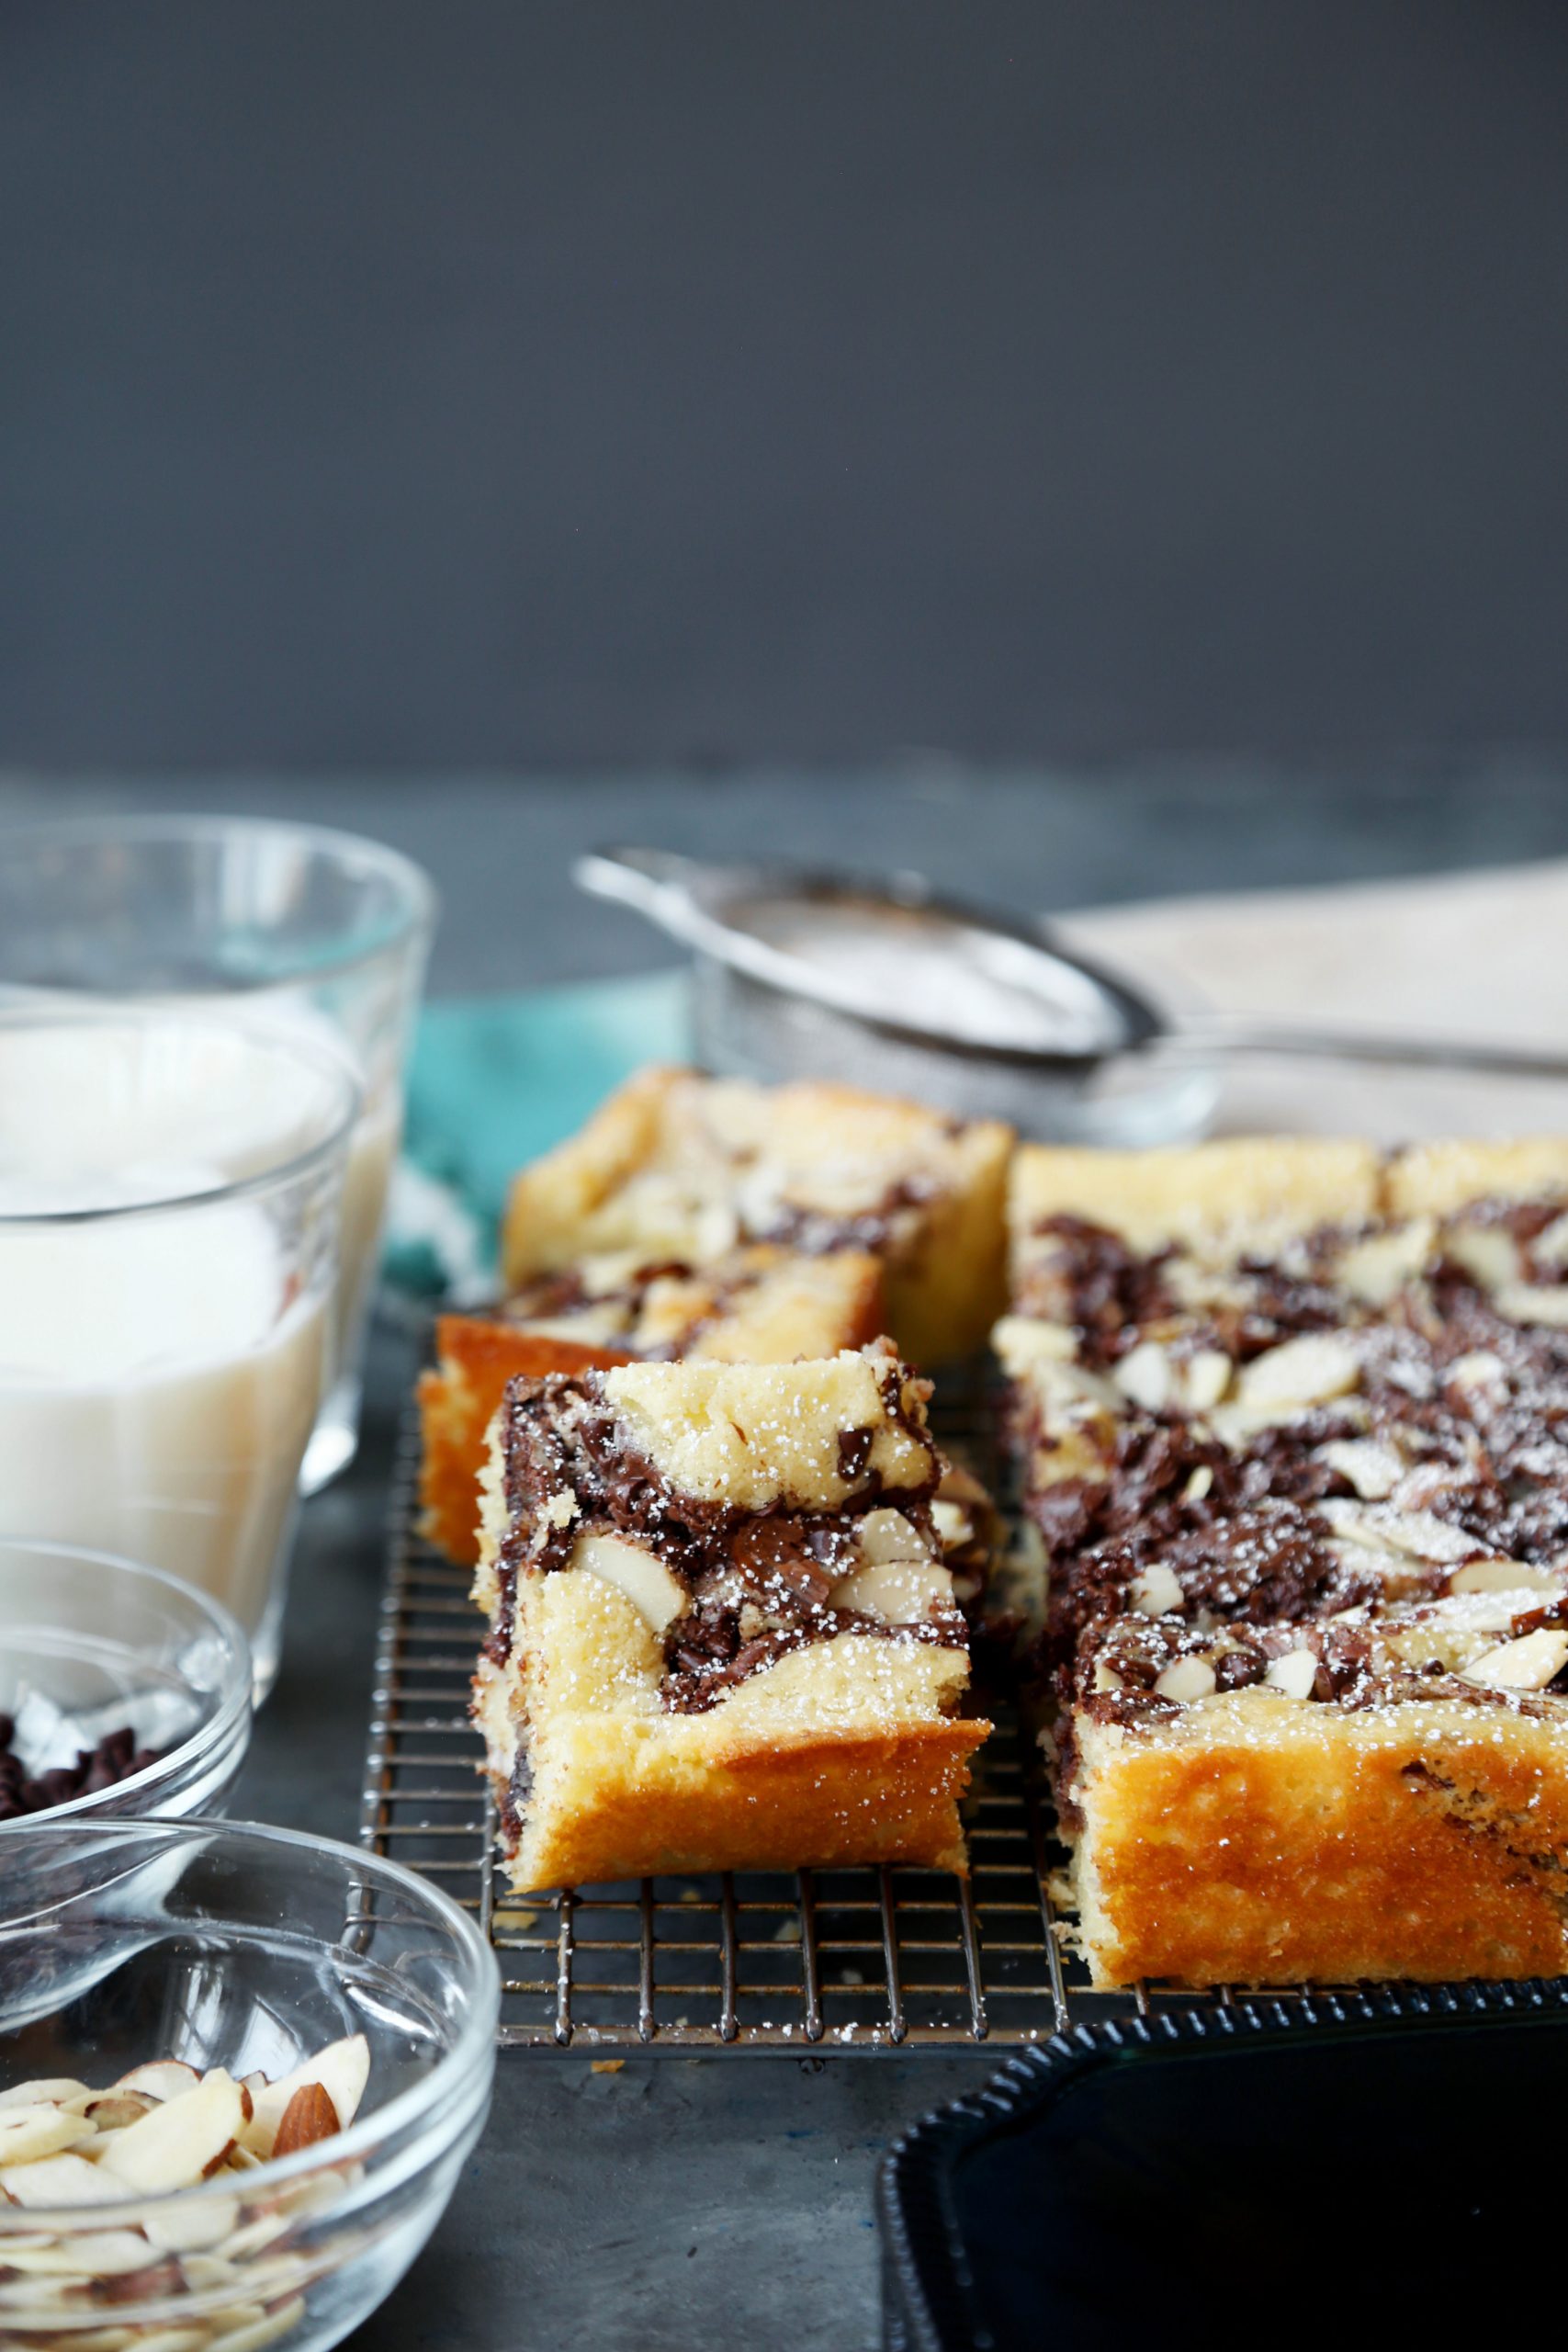
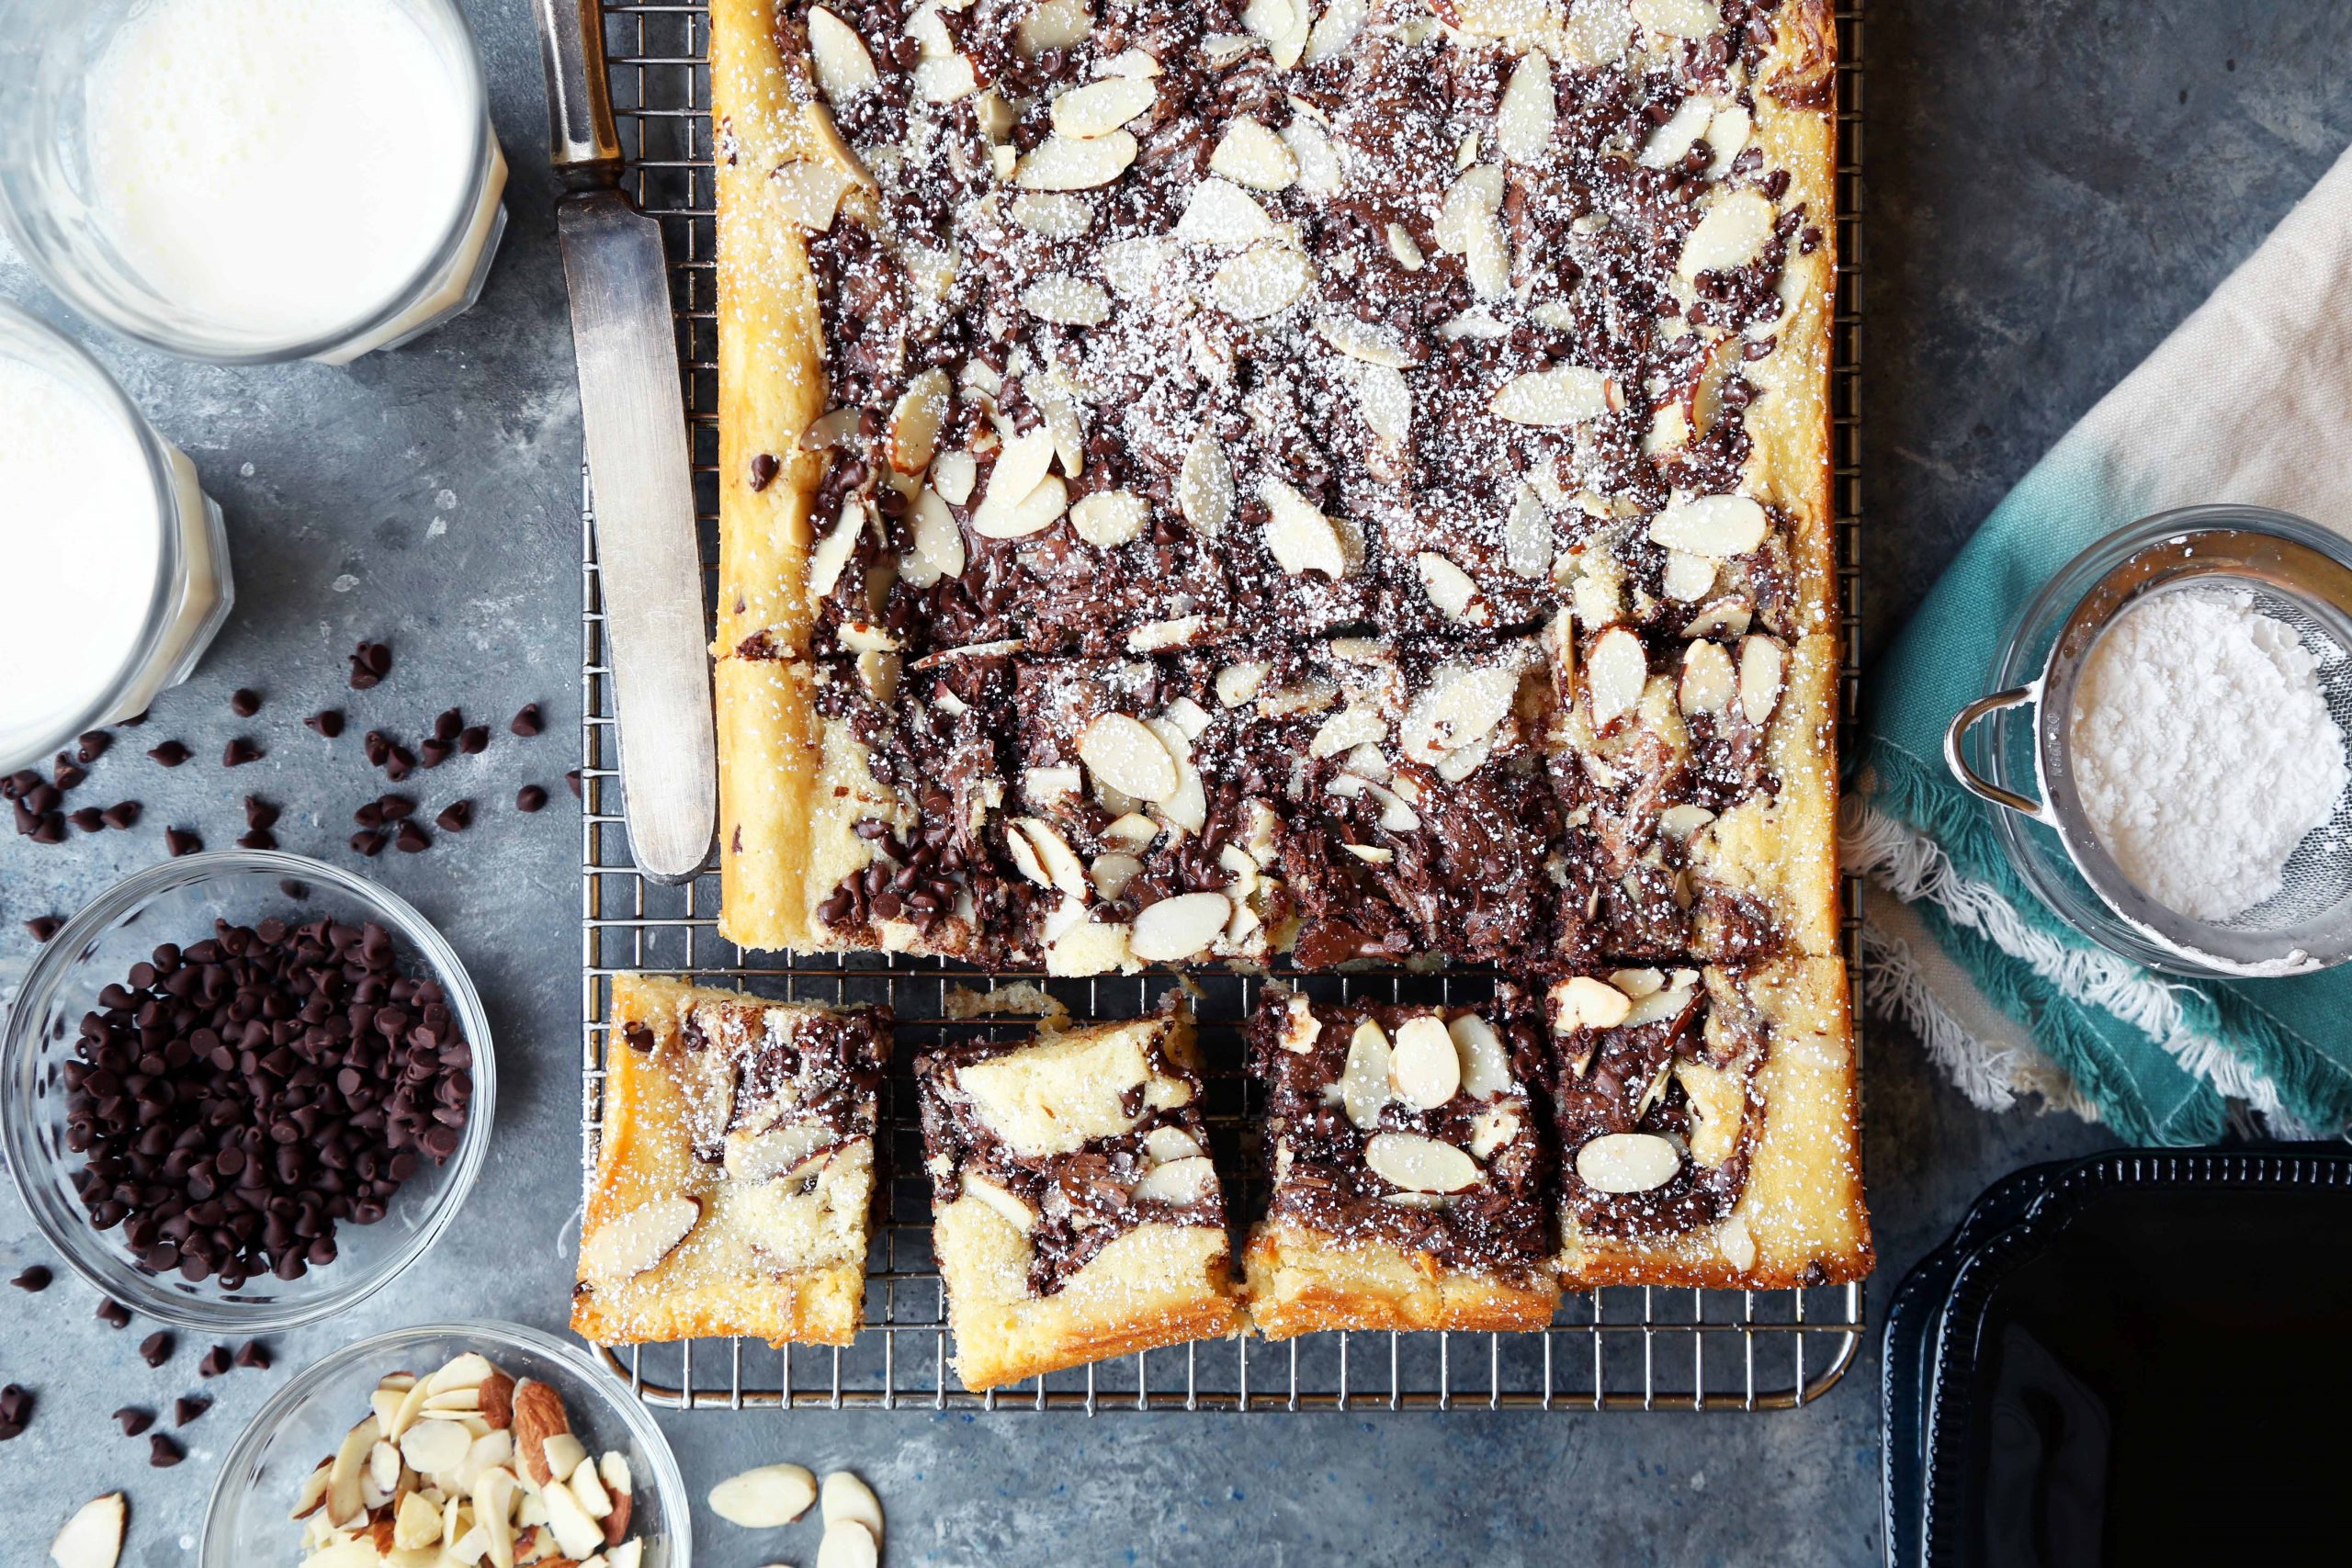
 Dollop the Nutella on top of the batter and use a long skewer or knife to swirl it around and into the batter. Sprinkle the slivered almonds and chocolate chips on top.
**Note: I originally wanted to make this with chopped toasted hazelnuts on top but the grocery store was out of hazelnuts. So I opted out for slivered almonds instead. Really, any nut would work or sans nuts would be great too.**
 Bake in a preheated 350°F oven until golden brown and a toothpick inserted in the middle, comes out clean, about 35 to 40 minutes. Remove from the oven and let cool completely.
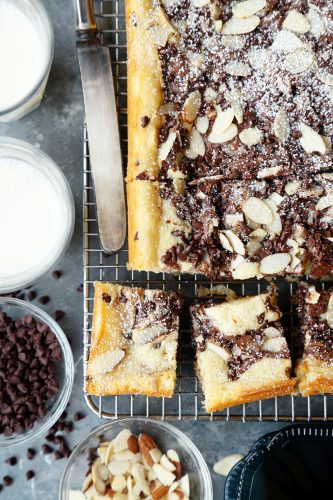
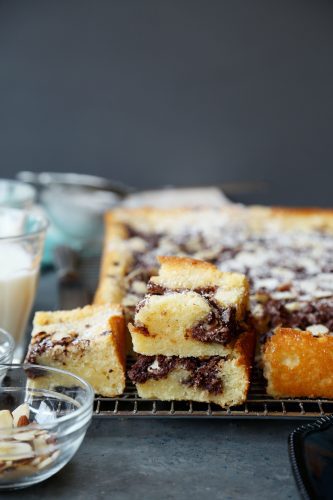
Use the parchment paper overhang to lift the cake out of the pan. Dust with powdered sugar and cut into small squares. Because this is supposed to be a snacking cake, the smaller the pieces the better. That just means you’ll be able to snack on more pieces.
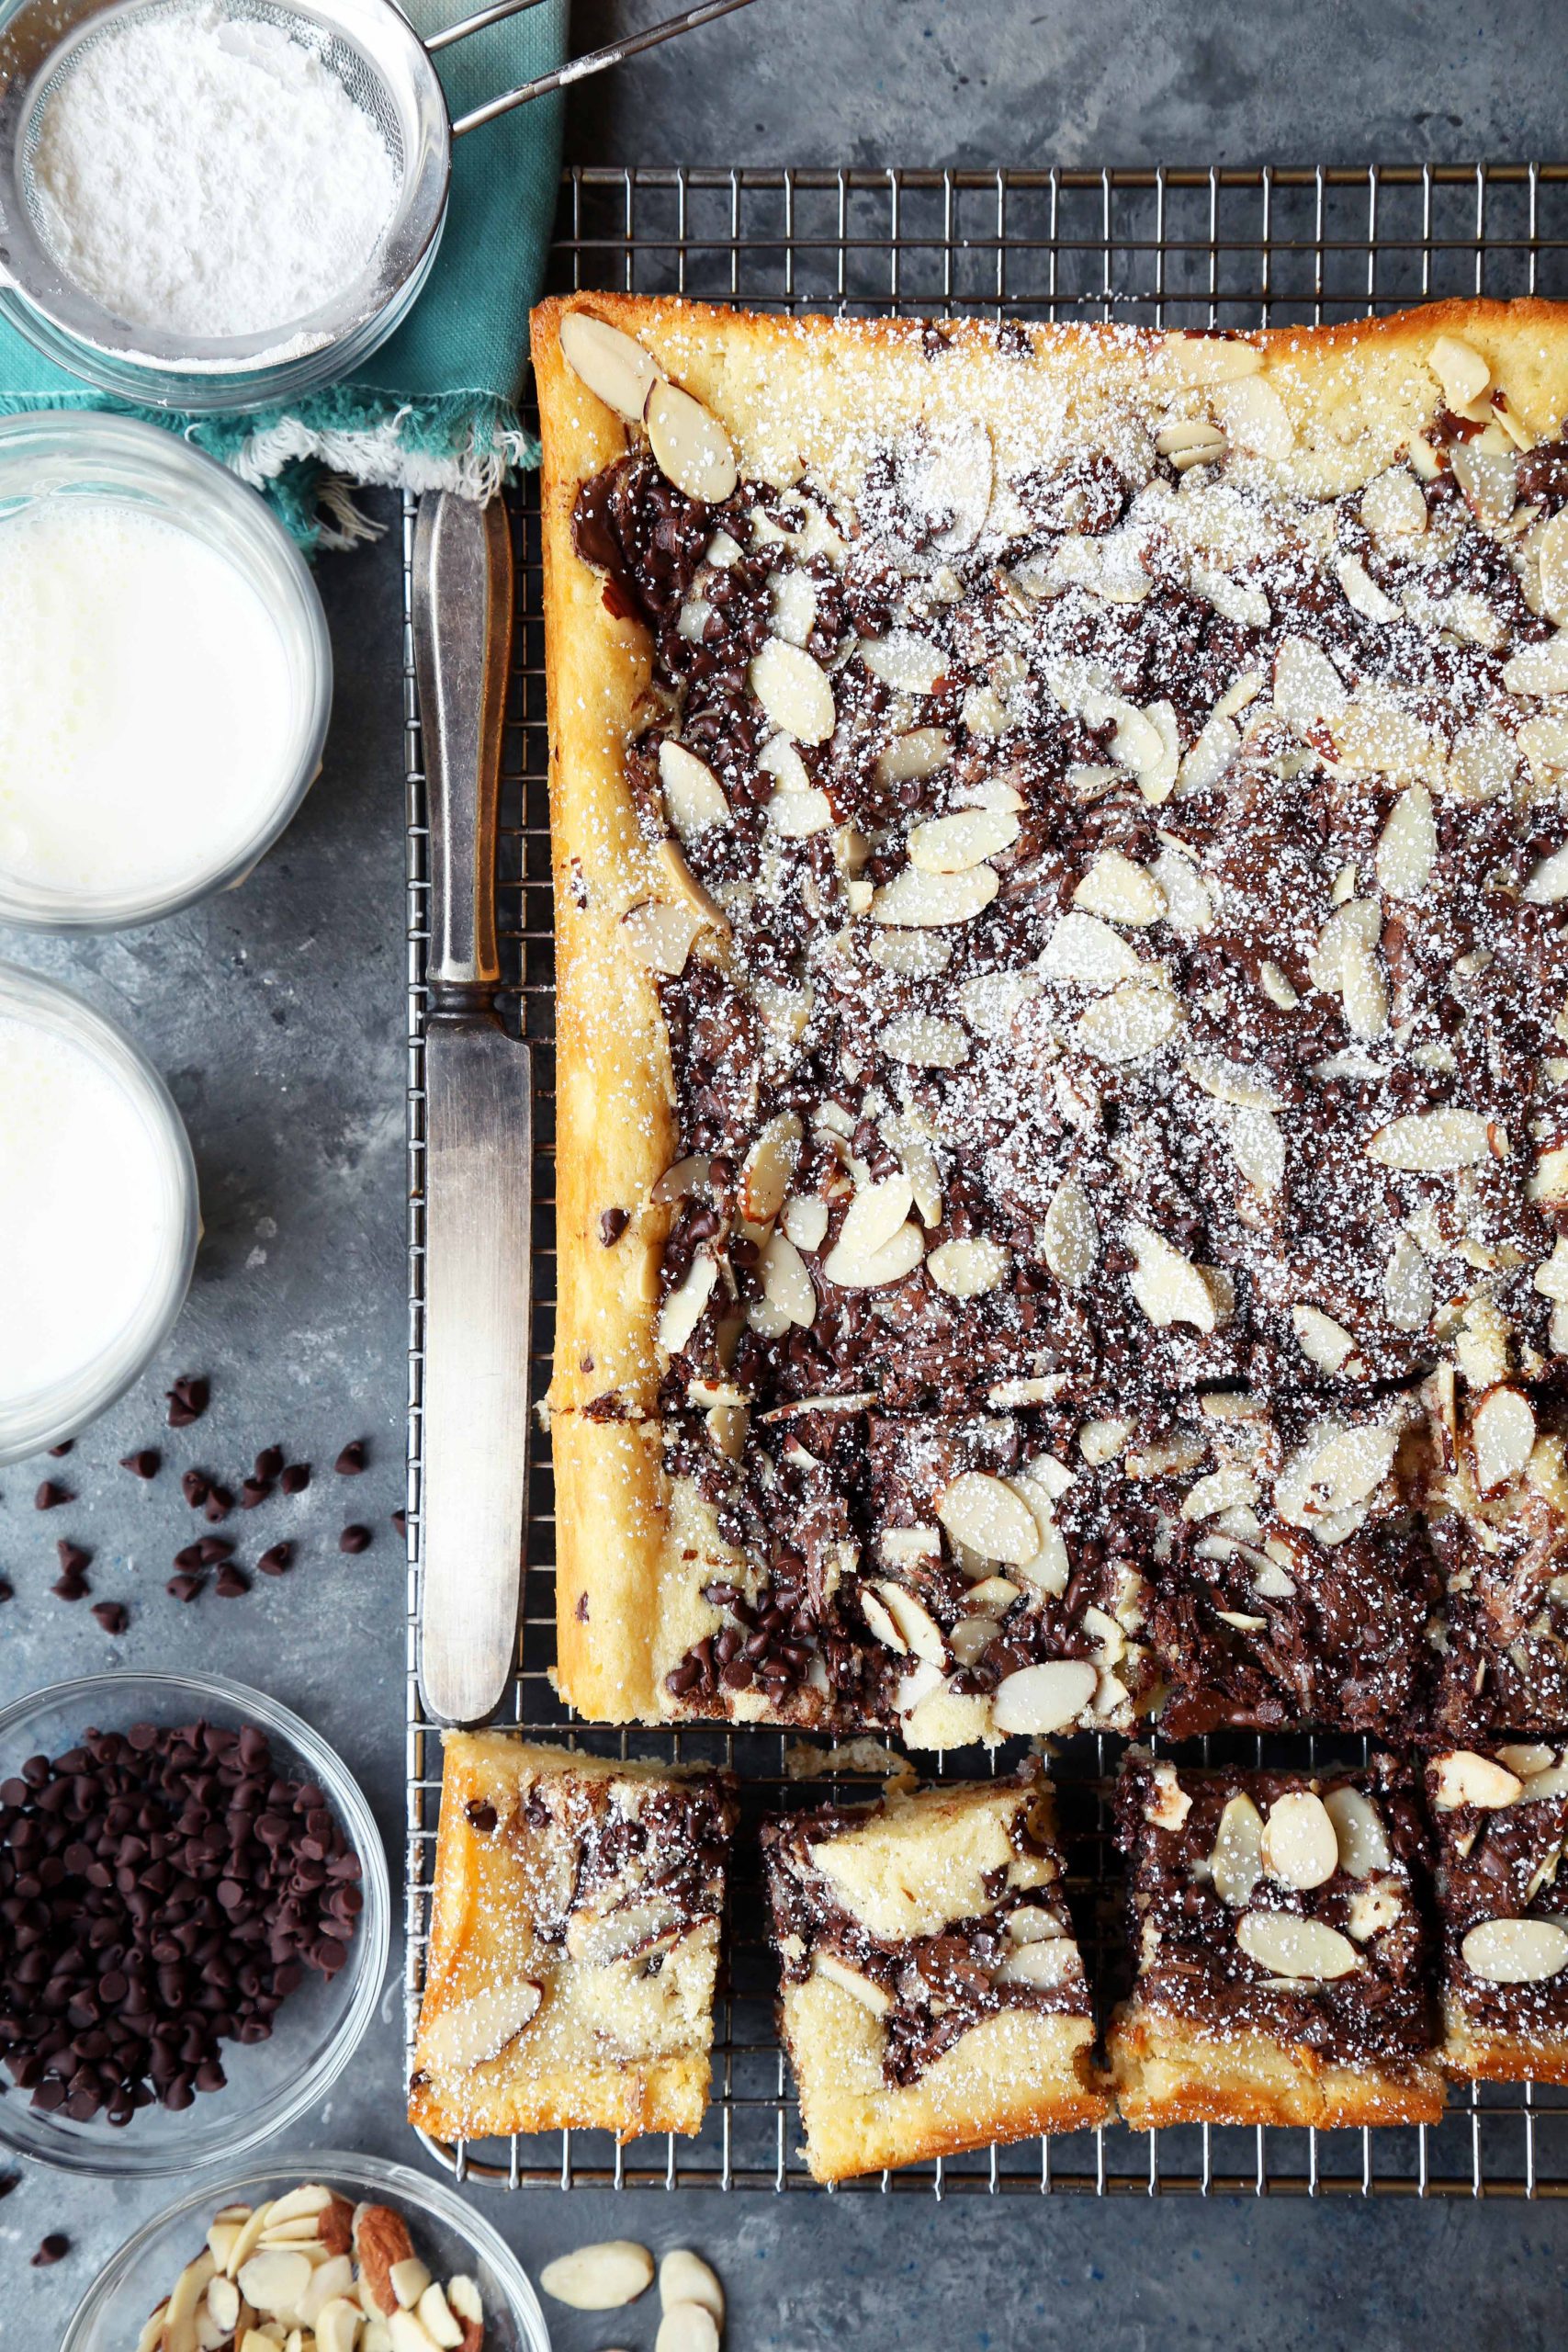 If you don’t plan on eating the cake right away, you can store it in an airtight container, or wrap it tightly in plastic wrap and store at room temperature for up to 3 days.
I like this cake so much because it’s so versatile. You can swap out the Nutella for peanut butter. Or you can omit both and sprinkle either strawberries, raspberries, blueberries or even blackberries on top. Oooh, you can do peanut butter swirl and then add some jelly swirls as well and have PB&J snacking cake! You can do marshmallows and chocolate chips and graham crackers and do S’mores Snacking Cake! See? The possibilities are endless.
 If you’ve never heard of snacking cake before this post, I hope you’ll come around to making it more of a regular thing for yourself. It’s great to keep around the house for when you’re craving something sweet. It’s great for company, for when we can have company again. But most importantly it gets us in the kitchen and distracts us from current world problems. So it’s a win win. Let me know if you have any questions or comments! Stay safe my friends.
Chocolate Hazelnut Snacking Cake
Ingredients
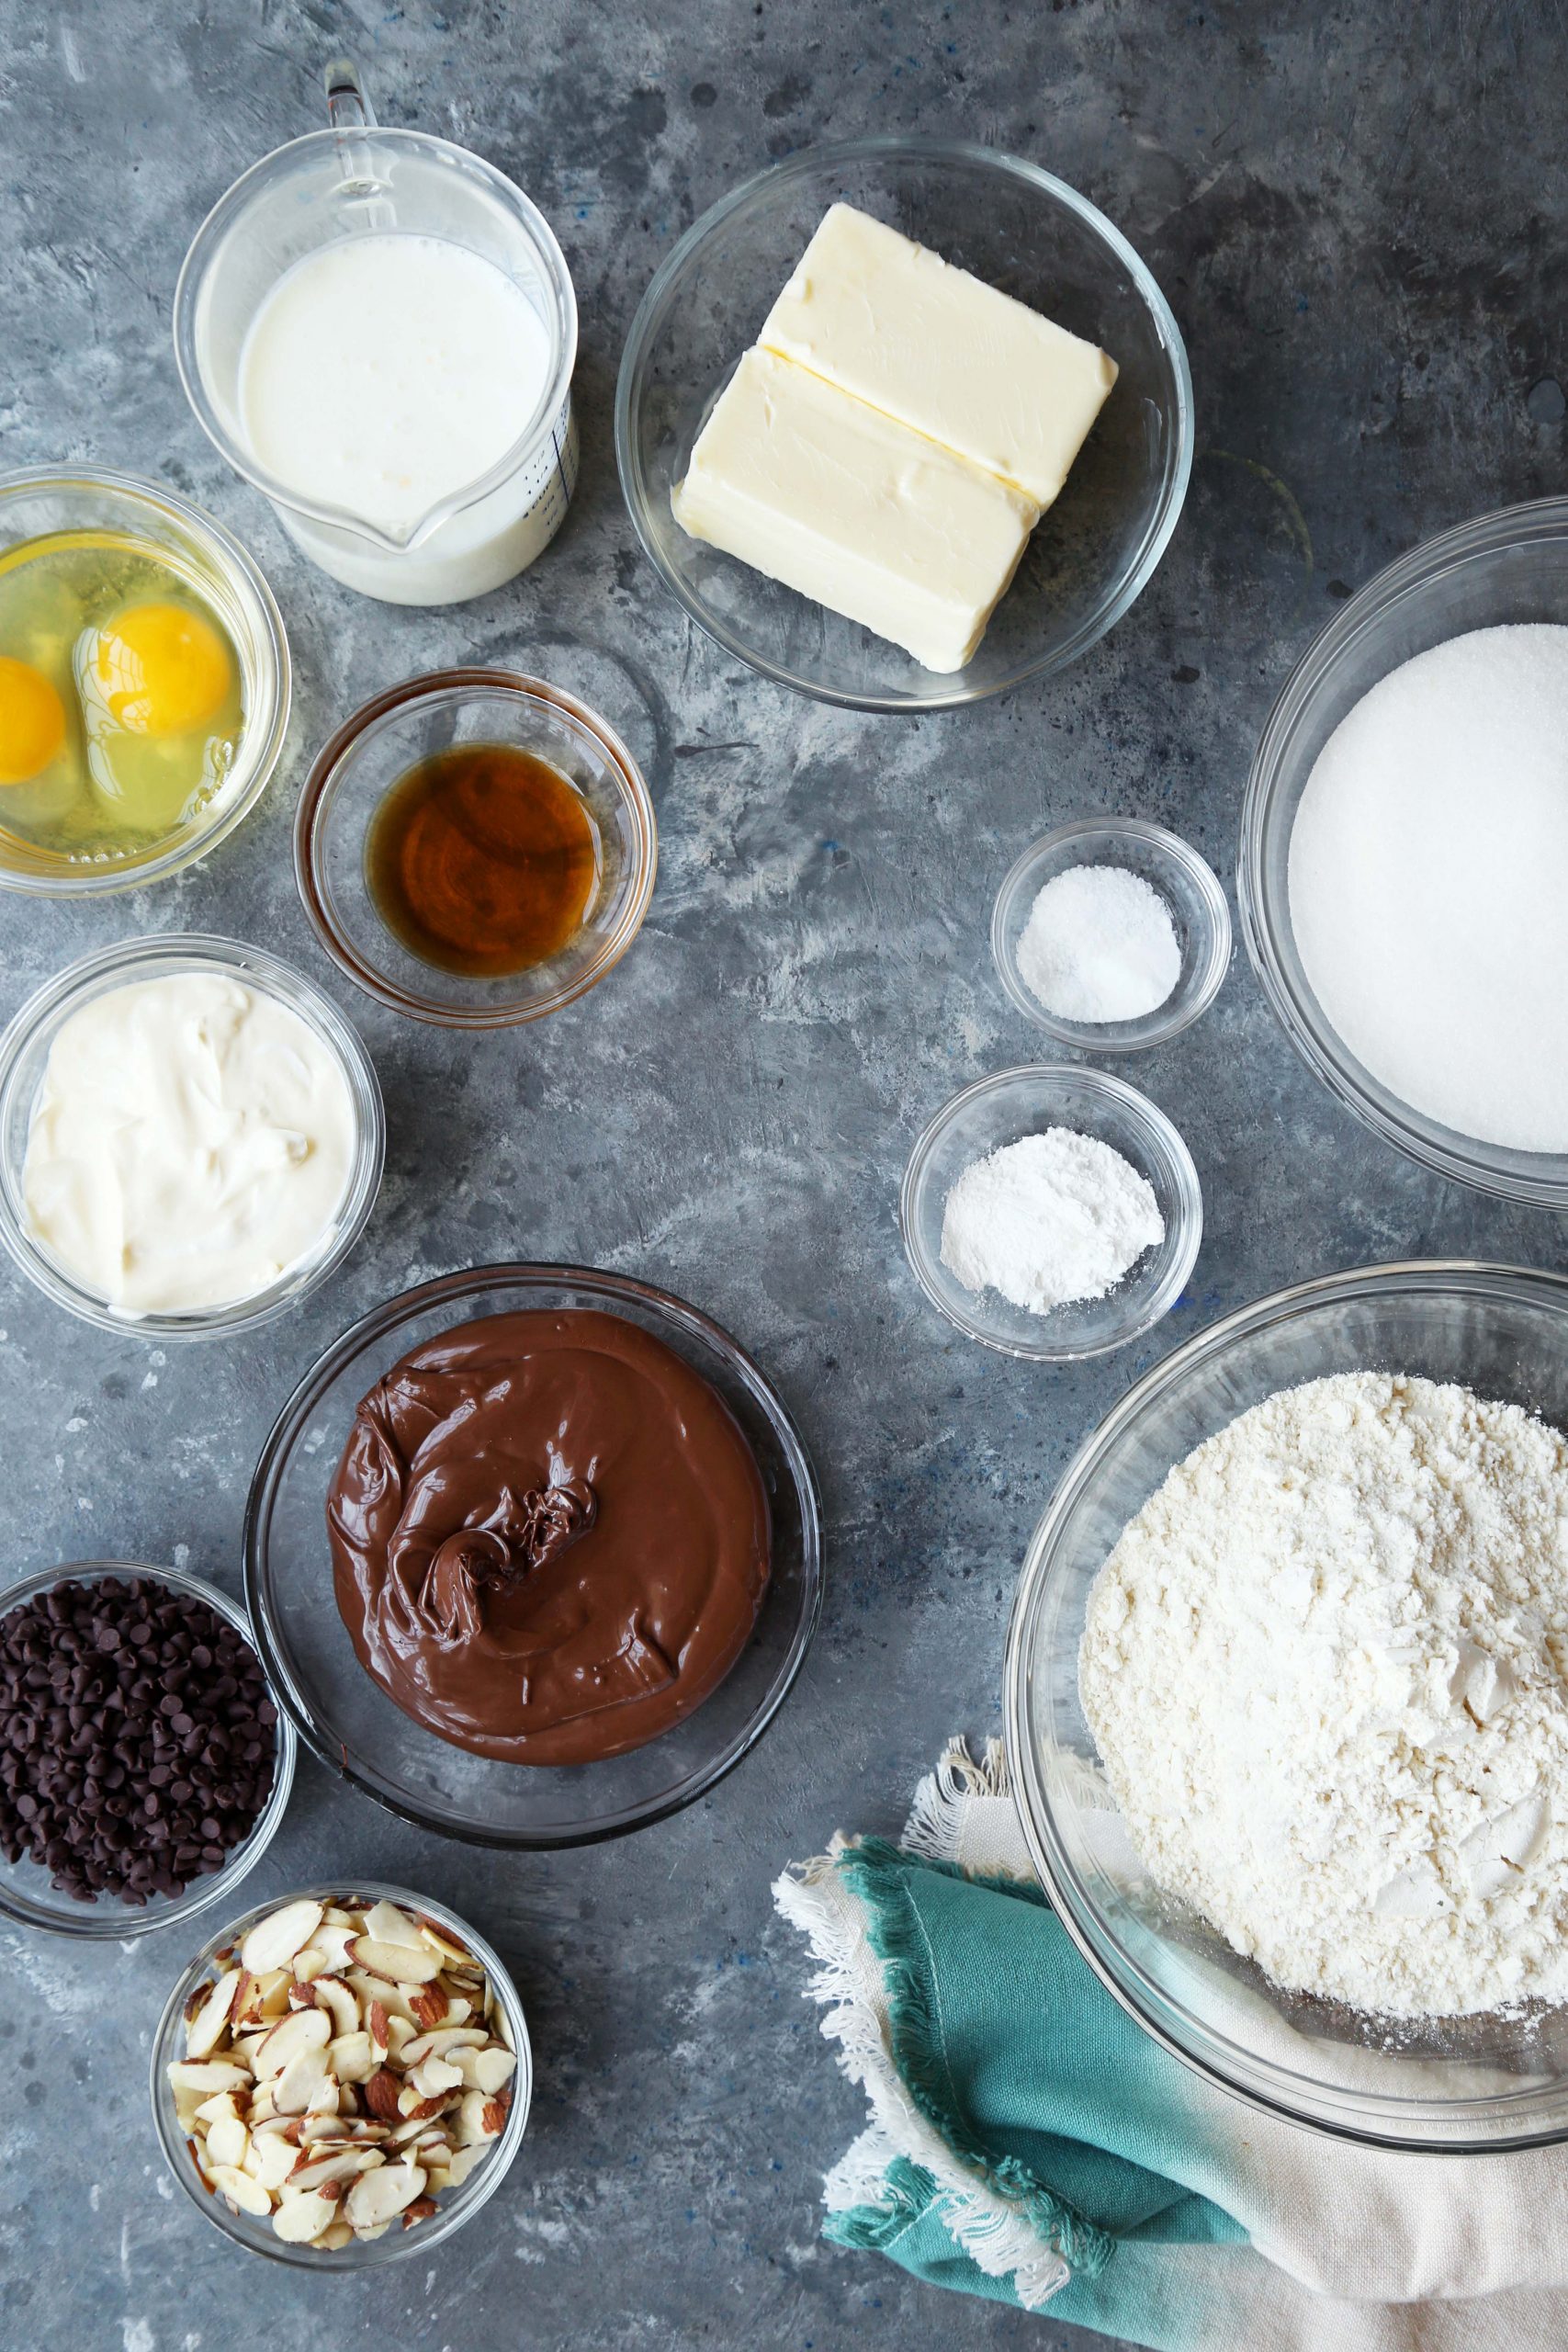
- 2 1/4 cups all-purpose flour
- 2 1/2 teaspoons baking powder
- 1/4 teaspoon baking soda
- 1/2 teaspoon salt
- 1 cup 2 sticks unsalted butter, softened
- 1 1/2 cups granulated sugar
- 2 large eggs
- 2 teaspoons vanilla extract
- 1/2 cup sour cream
- 1 cup buttermilk
- 1/2 cup Nutella chocolate hazelnut spread
- 1/4 cup slivered almonds or roughly chopped hazelnuts
- 2 tablespoons mini chocolate chips
- Powdered sugar for dusting
Instructions
- Preheat oven to 350°F. Line a 9x13-inch baking pan with parchment, so that the sides hang off (this will make it easier to pull the cake out later) and grease lightly with cooking spray, set aside.
- In a large bowl, whisk together the flour, baking powder, baking soda and salt; set aside. In a separate bowl, cream together the butter and sugar until light and fluffy, about 3 minutes. Add in the eggs, one at a time, making sure to beat the mixture well after each addition. Stir in the vanilla extract and sour cream. Add the dry ingredients, alternating with the buttermilk, starting and ending with dry. Mix until just combined after each addition. Use a rubber spatula to scrape the sides and bottom of the bowl to ensure the batter is evenly combined.
- Pour the batter into the prepared baking pan and spread into an even layer. Dollop the nutella on top and use a skewer or knife to swirls it around. Sprinkle with the slivered almonds and chocolate chips and bake until golden brown and a toothpick inserted in the middle, comes out clean, about 35 to 40 minutes. Remove from the oven and let cool completely. Use the parchment paper overhang to lift the cake out of the pan. Dust with powdered sugar and cut into small squares. Enjoy right away or wrap in plastic wrap. Can be kept at room temperature for up to 3 days. Enjoy!