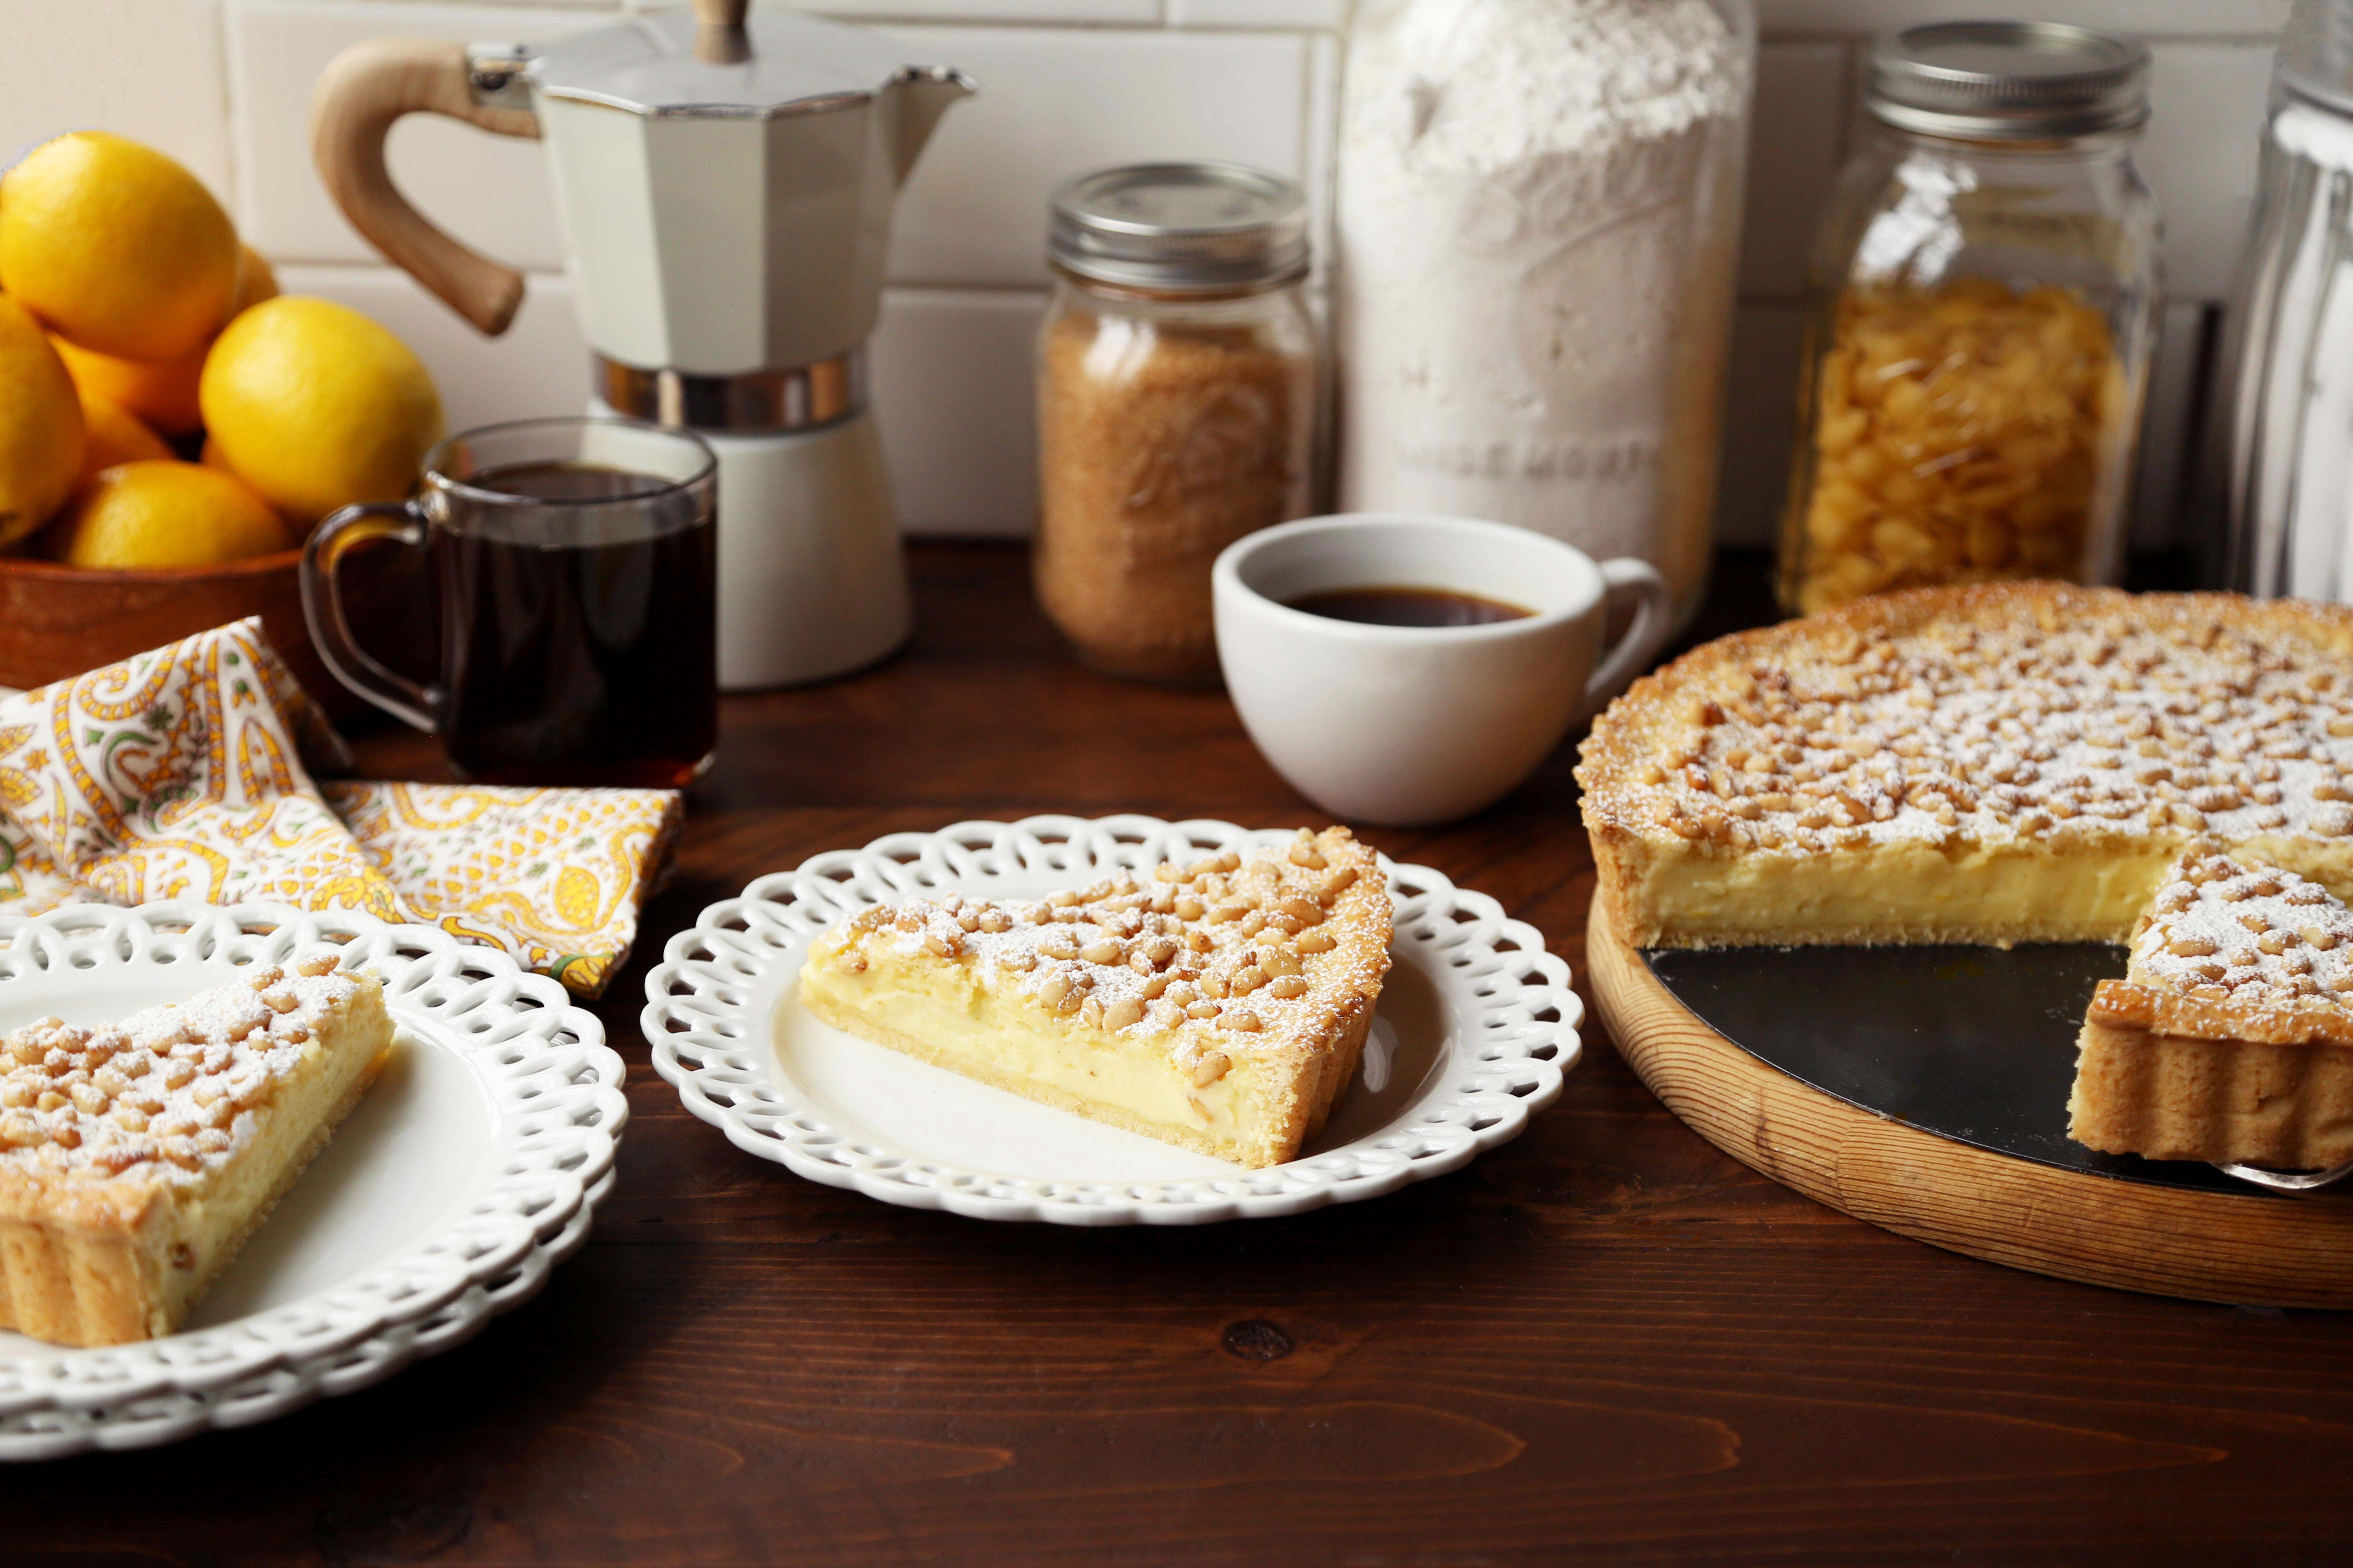
 So I’m still on this Italian kick, and I can’t seem to shake it off. Last week I shared a recipe for a classic and simple Tiramisu, and if you read that post and felt like you just needed some more traditional Italian treats in your life, then you’re in luck. In that post I also shared that I’m taking an Italian class for fun, to distract me from my day to day work activities. It’s been such a nice break from my daily routine of cooking, photographing, writing and editing. Aside from learning the language, this class has also inspired me to venture out of my comfort zone in the kitchen to learn about Italian cooking. It’s a county rich, not only in culture, but also immensely opulent in its food. I’ve only just started to scratch the surface with the tiramisu and now this Torta della Nonna, but I’m excited to continue learning as much as possible. Torta della Nonna is a traditional Tuscan dessert. Literally translated it means, “cake of the grandmother.” It’s a sweet short pastry tart filled with an Italian custard flavored with a hint of fresh lemon and vanilla. It’s topped with pine nuts before baked until golden brown, and then finished off with a dusting of powdered sugar. It’s incredibly simple in nature but complex in flavor. You have to try it for yourself!

Let’s start by making the pastry crust for the tart. In a large bowl, whisk together the flour, sugar, baking powder and salt.
**Note: I’m using an all-purpose flour for this recipe because I always have some on hand, but a whole wheat pastry flour would be fine too.**
 Add in the zest of a lemon and butter. Rub the butter into the dry ingredients with your hands until the mixture resembles coarse crumbs the size of peas.
**Tip: You want to work as fast as possible because you don’t want to breakdown the butter too much. Even though the butter is at room temperature, you don’t want to overwork it too much or else the warmth from your hands will soften it too much.**
 Whisk the egg in a bowl and then pour it into the mixture. Using a rubber spatula, mix until it forms a soft, somewhat smooth dough. Cover with plastic wrap and chill for at least 1 hour.
**Note: The dough can be made up to 1 day in advance. Before you roll out though, you’ll want to let sit at room temperature for at least 30 minutes to soften the dough.**


Meanwhile, let’s make the Italian custard. To me, it’s much richer and silkier than regular pastry cream. In a saucepan, combine the milk, lemon zest, pinch of salt, vanilla bean pod and vanilla seeds scraped from the pod. Set over moderate heat and warm through.
**Note: Keep a close eye on the mixture. You don’t want it to bubble over or come to a boil at all. Just a very low simmer. This is scalding the milk basically.**
 In a large bowl, whisk together the eggs, egg yolks, sugar, flour, and salt until completely smooth. Keep in mind that the mixture will be very thick and somewhat difficult to mix together at first.
 Once the milk has warmed through, slowly stream in and whisk into the egg mixture until well incorporated. Pour the mixture back into the saucepan.
**Note: This step is called tempering the eggs. You want to slowly add the warm milk to the eggs. If you add them too rapidly or all at once, you run the risk of cooking the eggs from the heat of the milk.**
 Set the saucepan over moderate heat again and cook, whisking constantly until the custard thickens, about 10 minutes. Keep whisking so that the custard doesn’t burn, stick to the bottom or create lumps. Remove from the heat and let cool.
 In the meantime, cut the chilled dough in half. Return one half to the fridge, and roll out the second half on a well-floured work surface to a large circle. Transfer to a 9 or 10-inch tart pan, with a removable bottom, that has been buttered and floured. Cut any excess dough hanging over. Cover the top with parchment paper, fill with dry beans or pie weights and bake for 12 minutes.
**Note: This is called blind baking the pie crust. The weights help prevent the pie crust from puffing up and getting any color. Baking it for a bit helps stabilize the bottom crust and prevents it from getting soggy.**
 Once the crust has par-baked and cooled, remove the parchment paper and beans, and pour in the cooled custard, smoothing out into an even layer.
 Roll out the second half of dough on a well floured work surface, and place on top of the custard. Trim off any excess hanging dough and seal the edges. Brush the top with egg wash and sprinkle with pine nuts.
 Bake until golden brown, in a preheated 350 degree F oven, for about 30 to 35 minutes. Remove from the oven and let cool completely to room temperature before dusting the top with powdered sugar and then slicing and serving.
**Tip: The cooling off also helps with the slicing of the pie, making it a lot easier and smoother to get even cuts.**
 At this point you can wait for it to cool completely and then chill in the fridge until ready to slice and serve. I enjoy this tart cold, so I like to keep it in there until right before eating. It can be kept in the fridge for up to 2 days. Dust with powdered sugar right before you plan on serving it.
 Traditionally this pie is perfect as is with a light dusting of sugar, but if you really want to go off script and take it over the edge, you can serve it with a dollop of fresh whipped cream and maybe some sliced fresh berries. That wouldn’t be such a bad thing, although traditionalists might not approve.


You can’t forget the coffee. I feel like most Italian desserts are enjoyed with a cup of espresso at the end of the meal to really finish things off. This makes for a great dessert after a delicious Italian meal, so you might want to keep that in mind.
 I find that this dessert is a great end-of-meal treat when you have family or friends over—especially if some kind of pasta is on the menu—but I think it’s also the kind of dessert you have in your fridge for when company unexpectedly stops by during the day for a visit. It’s a perfect offering dessert, which if you don’t know what an offering dessert is, it’s that treat you have on hand and you offer a guest when they’ve stopped by in the morning or afternoon for a visit. I like to always have something on hand for such occasions.

Torta della Nonna
Ingredients
Pastry:
- 2 cups all-purpose flour
- 2/3 cup granulated sugar
- 1 teaspoon baking powder
- pinch of salt
- Zest of 1 lemon
- 2/3 cup unsalted butter diced, room temperature
- 1 large egg
Italian Custard:
- 2 3/4 cups whole milk
- Zest of 1 lemon
- 1 vanilla bean split and seeds scraped
- 2 large eggs
- 2 large egg yolks
- 1/2 cup all-purpose flour
- 2/3 cup granulated sugar
- pinch of salt
Topping:
- 1 large egg whisked with a splash of water
- 1/2 cup pine nuts
- powdered sugar for topping
Instructions
- To make the pastry, mix together the flour, sugar, baking powder, salt and lemon zest until well combined. Add in the butter and rub into the flour with your finger tips until it resembles coarse crumbs the size of peas. Beat the egg in a small bowl and add to the flour mixture. Mix until it comes together to form a smooth dough. Wrap in plastic wrap and chill in the fridge for at least 1 hour.
- For the Italian custard, heat the milk in a saucepan with the lemon zest and vanilla seeds and whole pod.
- In the meantime, whisk the eggs, yolks, flour, sugar, and salt until completely smooth. The mixture will be somewhat thick. When the milk has warmed through, slowly pour and whisk into the egg mixture to temper. Pour the mixture back into the saucepan and set over medium-high heat. Cook, whisking constantly until the custard thickens, about 10 minutes. Remove from heat and let cool.
- Preheat oven to 350 degrees F. Butter and flour a 9 or 10-inch tart pan with a removable bottom. Set aside.
- Cut the chilled dough in half, transfer one half onto a lightly floured work surface and return the other half to the fridge. Roll out to a large circle and transfer to the prepared pan. Trim off any excess. Cover with a piece of parchment paper, fill with dry beans or pie weights and bake for 12 minutes. Remove from oven and let cool completely.
- Fill the pie with the custard and smooth out into an even layer. Roll out the second half of dough and transfer on top of the pie. Trim off the edges and seal. Brush the top with egg wash and sprinkle with pine nuts. Bake until golden brown, 30 to 35 minutes. Remove from oven and let cool completely before dusting with powdered sugar, cutting and serving. Tart can also be chilled for several hours and dusted with sugar right before serving. Enjoy!
I love torta della nonna! I tried it once when I visited Italy and it was such a delicious dessert! I have to try your recipe!
Made two of these this weekend and they were absolute perfection. The recipe was so easy to follow and the tarts came together so easily. Everyone raved about how delicious they were and couldn’t believe they were not from a bakery. 🙂 A few notes on things I ran into that may help others while trying this recipe: A. The recipe doesn’t say when to remove the vanilla pods. I removed them halfway into the thickening of the custard and that seemed to work fine. B. For parbaking the crust, it took about 18 minutes for my crust to parbake to the correct level which could have just been a difference in ovens. I looked for the beginnings of a golden brown color and it was perfect. C. When you account for cooling times between several of the steps, this recipe takes a fair bit longer than 1hr 15m. Notes aside, I’m so grateful for this wonderful recipe. Will be my go-to going forward!! Thank you!